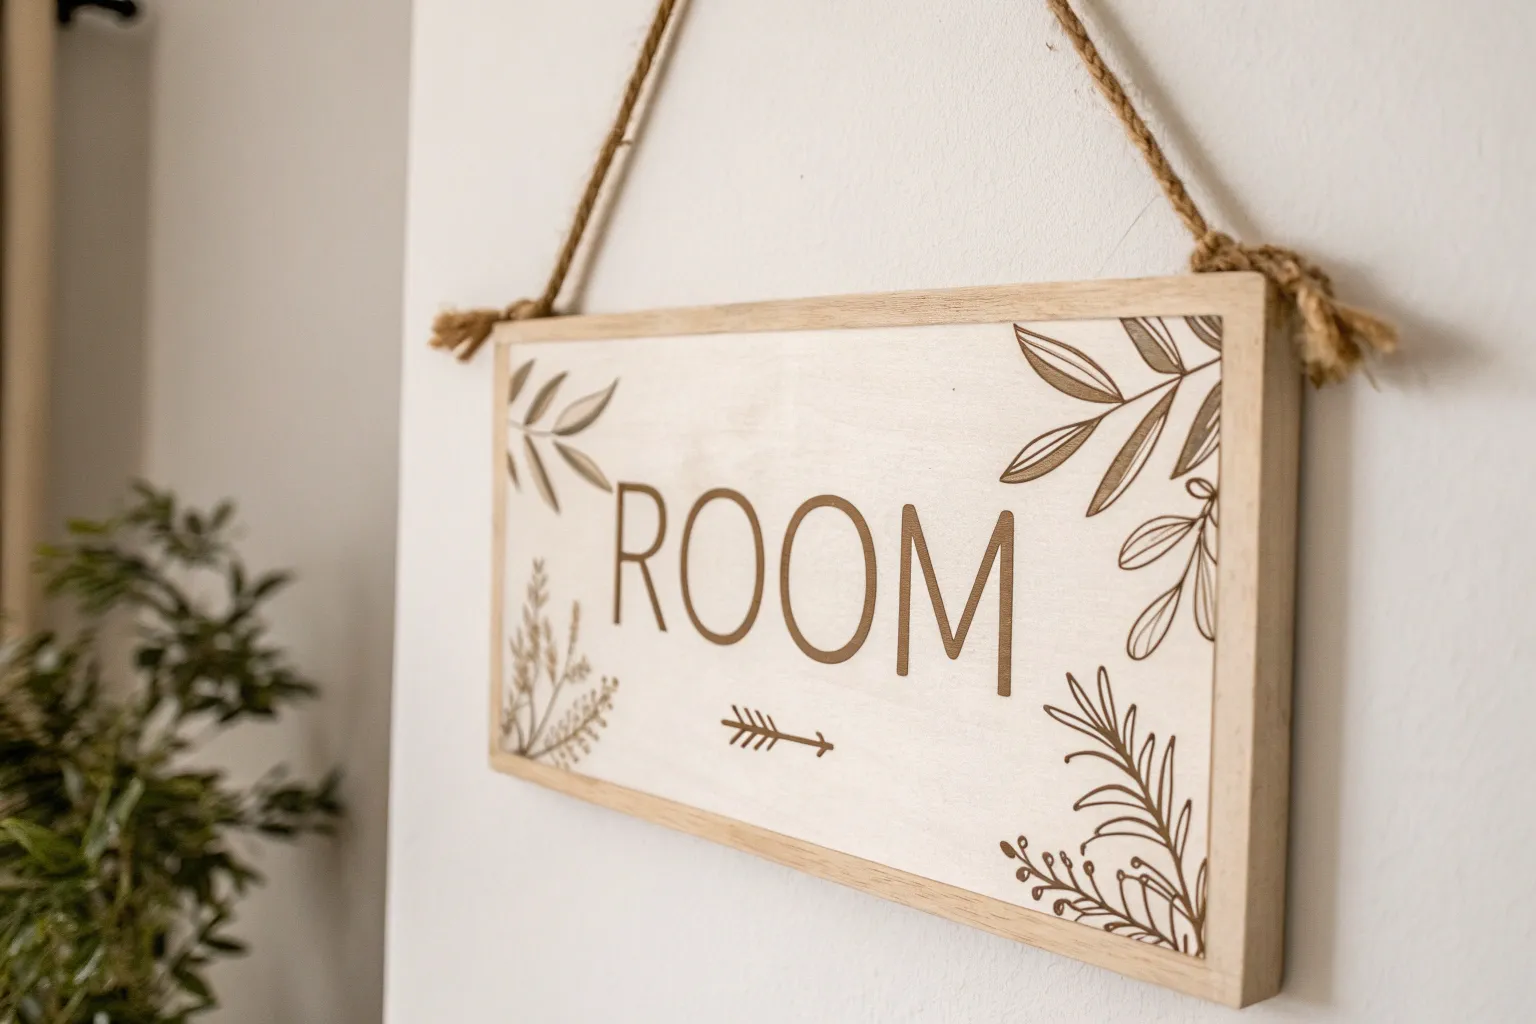
Personalized room tags are small details that often go unnoticed yet make a surprisingly big impact. They help communicate boundaries while reinforcing the style and mood of your home or workspace.
Why Handmade Room Tags Matter
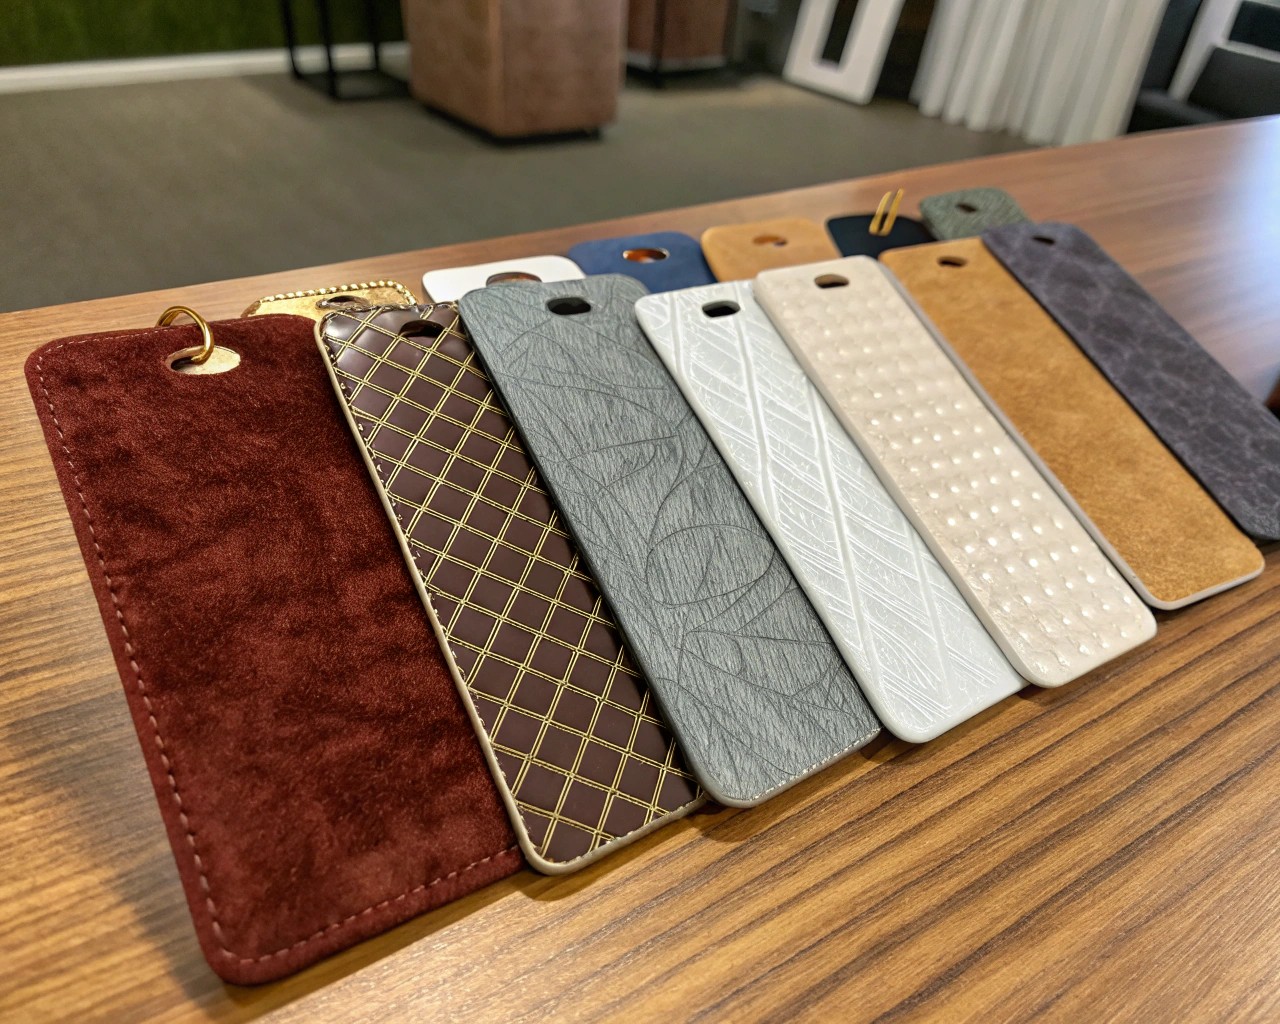
A handmade tag is far more than a functional sign—it’s a statement about care, personality, and intention. While store-bought signs prioritize uniformity, handmade pieces let you set the tone of the environment.
- Functionality: The most practical role is signaling when entry is welcome or restricted. Think of a “Do Not Disturb” tag on a home office during virtual meetings or a “Please Knock” tag for a teenager’s bedroom.
- Aesthetic Addition: These tags can act as subtle décor pieces. A rustic wooden sign adds warmth; a sleek acrylic design conveys modern minimalism.
- Expressive Element: They allow humor, creativity, and even artistry—perfect for making a guest feel welcome with a tag that reads, “Relax, You’re Home.”
I’ve noticed that when a guest enters a home where even the signage has been given thought, they immediately sense a layer of hospitality.
Design Inspiration by Setting
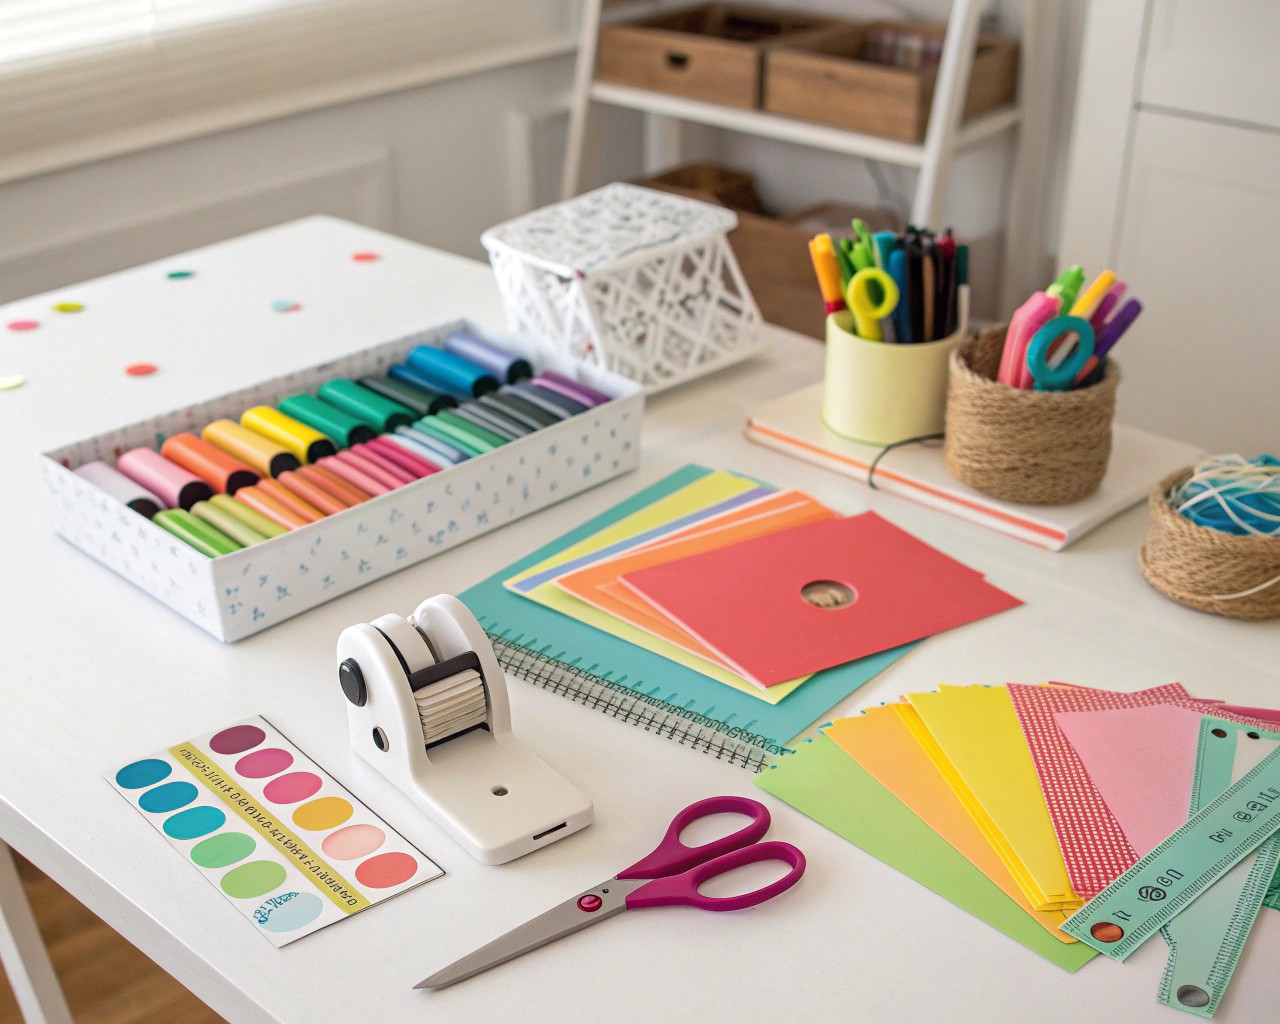
When creating your own tags, consider the room, the people who use it, and the atmosphere you want to encourage.
| Room / Space | Message Examples | Material Suggestions | Design Notes |
|---|---|---|---|
| Home Office | “Do Not Disturb – Working,” “Quiet, Meeting in Progress” | Wood plaque, acrylic sheet | Choose clean lettering for professionalism |
| Kids’ Room | “Knock First!”, “Princess At Play,” “Gamer in Zone” | Foam board, bright paper | Use bold colors and playful icons |
| Guest Bedroom | “Welcome In,” “Resting – Please Knock” | Heavy cardstock, decorative paper | Make reversible options for flexibility |
| Shared Dorm / Apartment | “Out,” “Studying,” “Come On In” | Recycled cardboard, laminated prints | Prioritize portability and durability |
| Craft/Workshop Space | “Busy Creating,” “Maker at Work” | Plywood, laser-cut MDF | Lean into rustic or industrial finishes |
Choosing Materials: Function Meets Durability
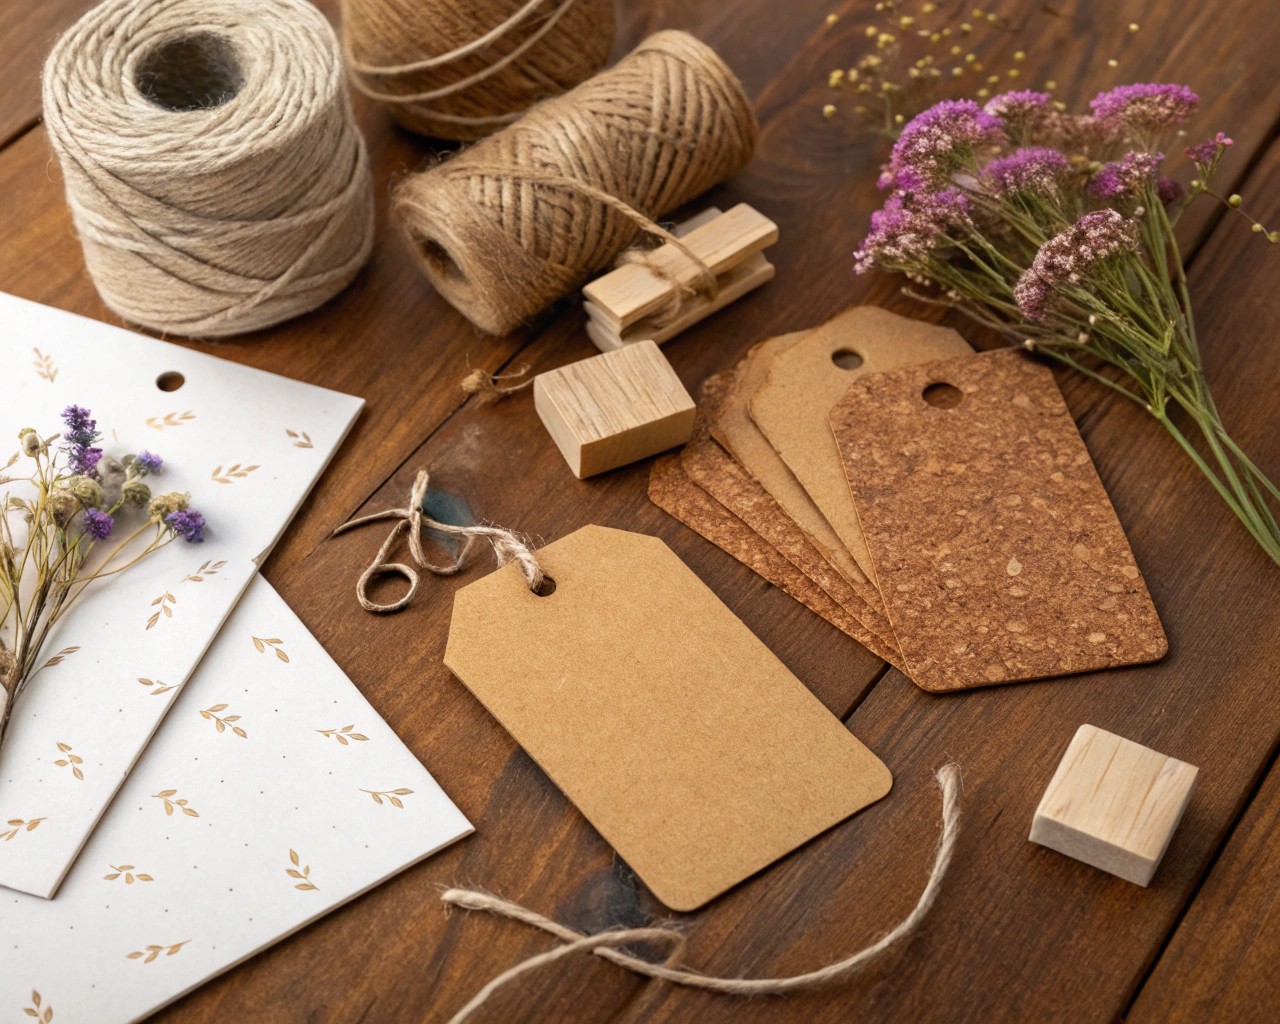
Your choice of material determines how long the tag lasts and how it interacts with the space. Here are some accessible options:
- Cardstock & Paperboard: Low-cost, versatile, ideal for temporary tags or decorative signage. Best laminated for longer use.
- Wood: Offers durability and visual warmth. Works for rustic or farmhouse-inspired interiors. Sanded edges prevent splinters.
- Acrylic & Plastic Sheets: Sleek and modern, easy to wipe clean. Best suited for minimalist designs.
- Foam Board: Lightweight but rigid—great for children’s tags where weight matters.
- Metal Sheets (thin aluminum): Advanced option; ideal for outdoor use or highly durable needs.
Finishing methods like sealing wood with polyurethane varnish or laminating paper prints extend the lifespan significantly.
Step-by-Step: Classic Hanging Room Tag
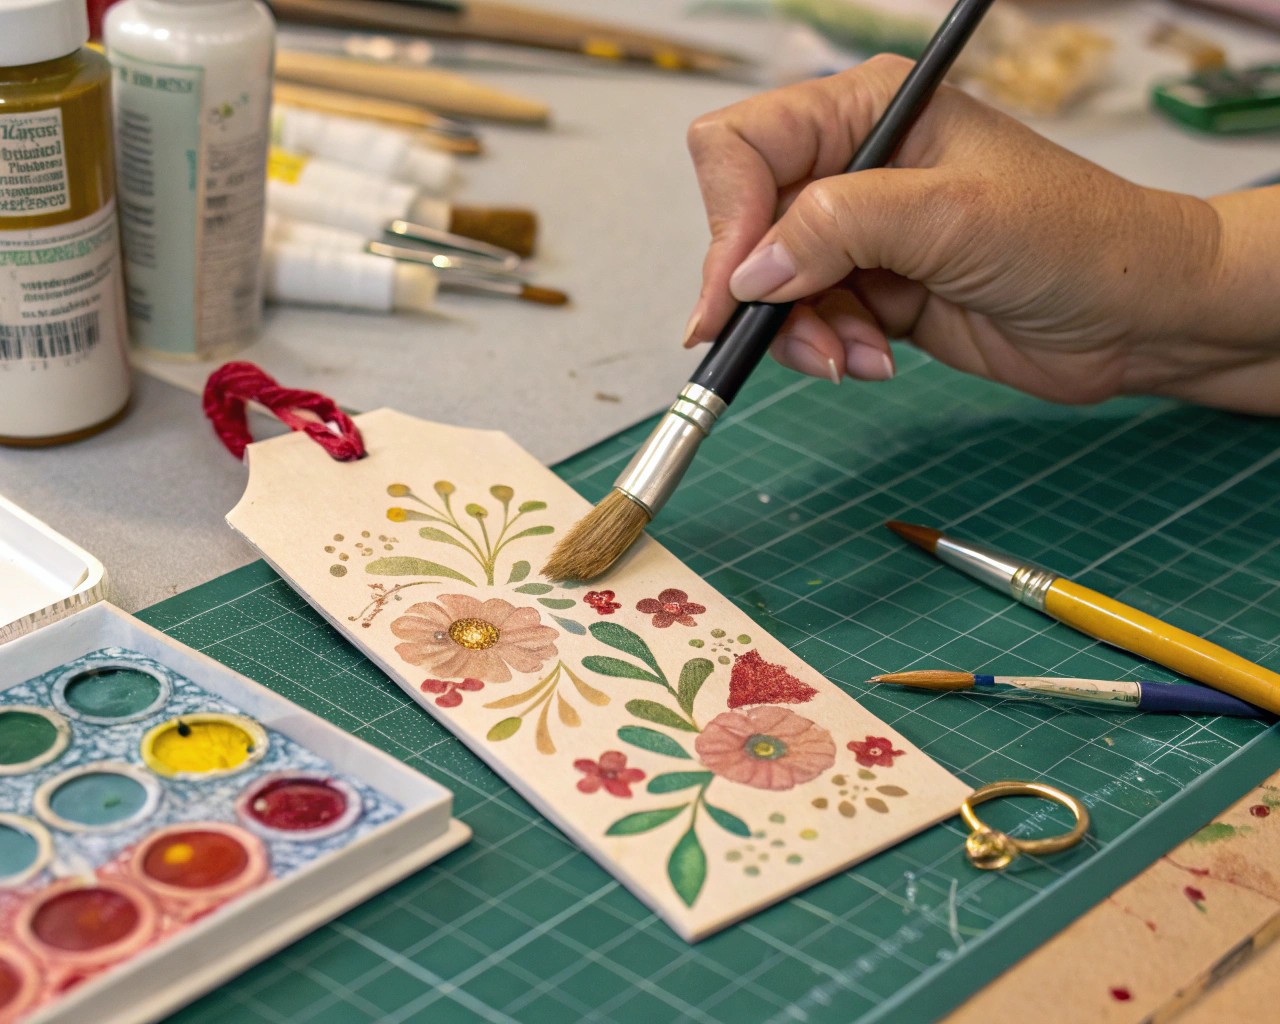
Materials & Tools:
- 4 × 8-inch base material (cardboard, wood, or acrylic)
- Decorative background (paint, patterned paper, or solid colorwash)
- Markers, paint pens, or vinyl lettering sheets
- Hole punch or drill
- Twine, satin ribbon, or cord
Instructions:
1. Cut to Shape: Trim your base into a rectangle, circle, or even themed silhouette (cloud, star, leaf). Smooth edges if wood or acrylic.
2. Create the Background: Apply one coat of acrylic paint, glue on decorative paper, or keep it natural with sanded wood.
3. Add Text: Use stencils for uniformity, freehand for a personal touch, or apply pre-cut vinyl lettering. Ensure high contrast for readability.
4. Optional Illustrations: Add small icons—a sleeping mask for bedrooms, a laptop for offices.
5. Seal the Surface: Apply a clear varnish (for wood), laminate (for paper), or leave bare if temporary.
6. Attach Hanging Loop: Drill or punch two holes at the top. Thread ribbon, twine, or a strip of fabric and tie securely.
This process creates a versatile, reusable sign that’s sturdy and decorative.
Alternative Construction Methods
Beyond the hanging tag, here are clever variations:
- Magnetic Tags: Glue magnets to the back for smooth doors or filing cabinets. Perfect for dorms or offices.
- Double-Sided Tags: Mark one side “Enter” and the other “Do Not Disturb.” A simple flip communicates the change instantly.
- Slider Signs: A small wooden or cardboard base with a sliding cover reveals different messages. This lends a more playful, hands-on aspect.
- Clip-On Signs: Attach tags to clothespins, binder clips, or door handles directly. This works for lightweight designs.
Customization Techniques
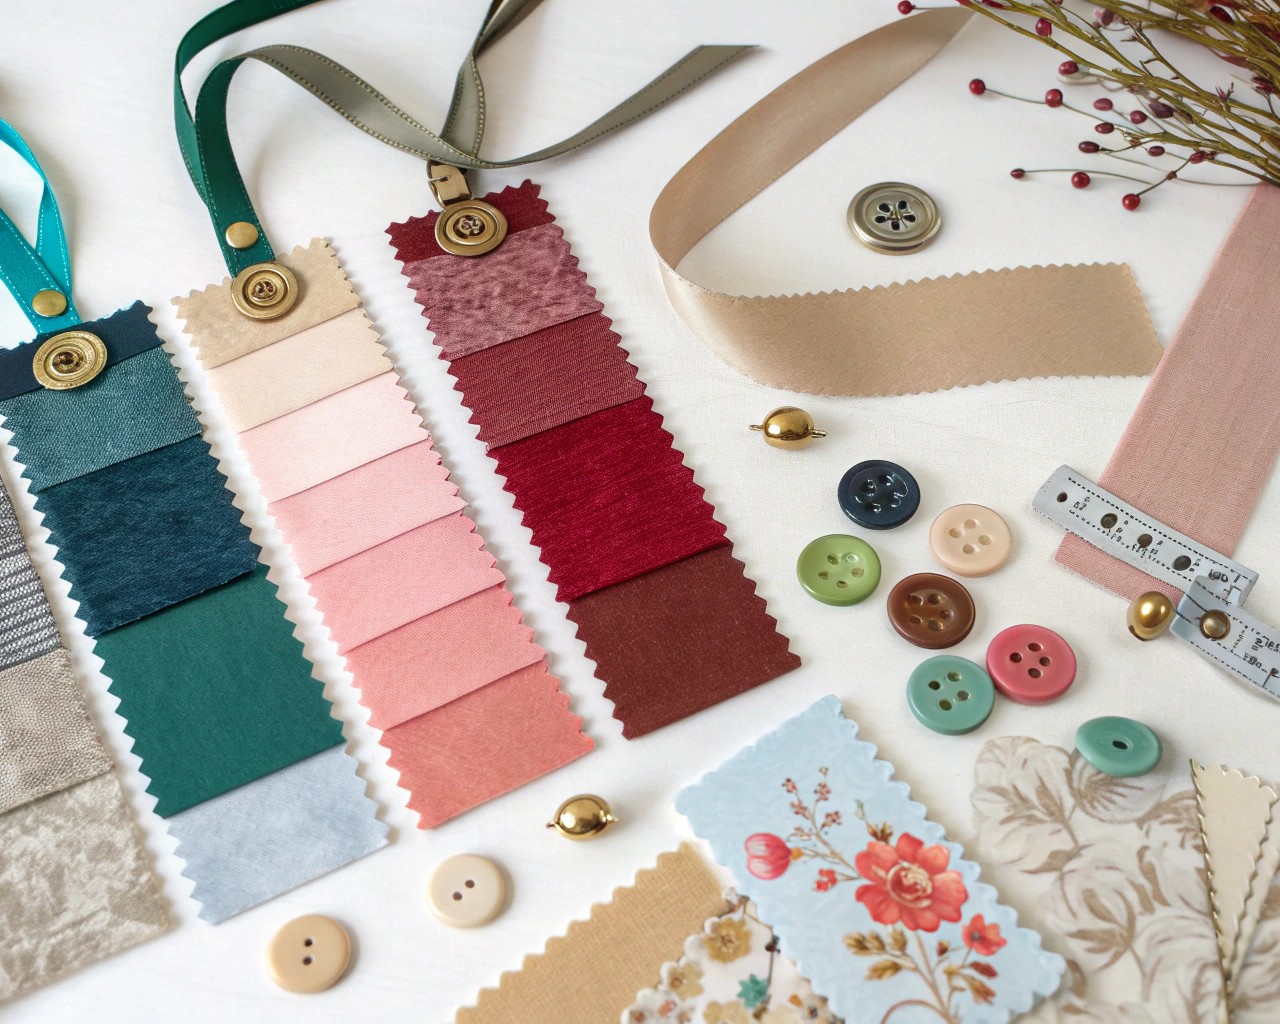
Even if you stick to a simple base material, design choices add personality:
- Typography: Use bold block lettering for children’s tags, serif fonts for elegant looks, and sans-serif minimal fonts for modern spaces.
- Color Psychology: Calming tones (blues, greys) for studies, energizing shades (oranges, reds) for creative spaces, and soft greens or creams for guest rooms.
- Textures & Layers: Add fabric swatches, layered cardstock, or pressed flowers for a tactile effect.
- Children-Friendly Options: Involve kids by letting them apply stickers, shapes, or even their handprints.
Long-Term Care and Practical Tips
- Place tags with consistent proportions—around 4–5 inches wide—to maintain balance across different rooms.
- Always prioritize legibility from a distance of at least 5–6 feet.
- When crafting several signs for shared households, aligning fonts and sizes creates cohesion.
- If signs hang outdoors or near a sunlit entryway, opt for UV-resistant paint and weatherproof sealants.
Bringing It All Together
A handmade room tag is a functional design project blending creativity, practicality, and personal expression. With just a few tools and common materials, anyone can craft signage that both communicates and complements the surrounding room. The best designs are simple yet intentional—crafted not just to signal, but to gently enhance the rhythm of everyday living.

