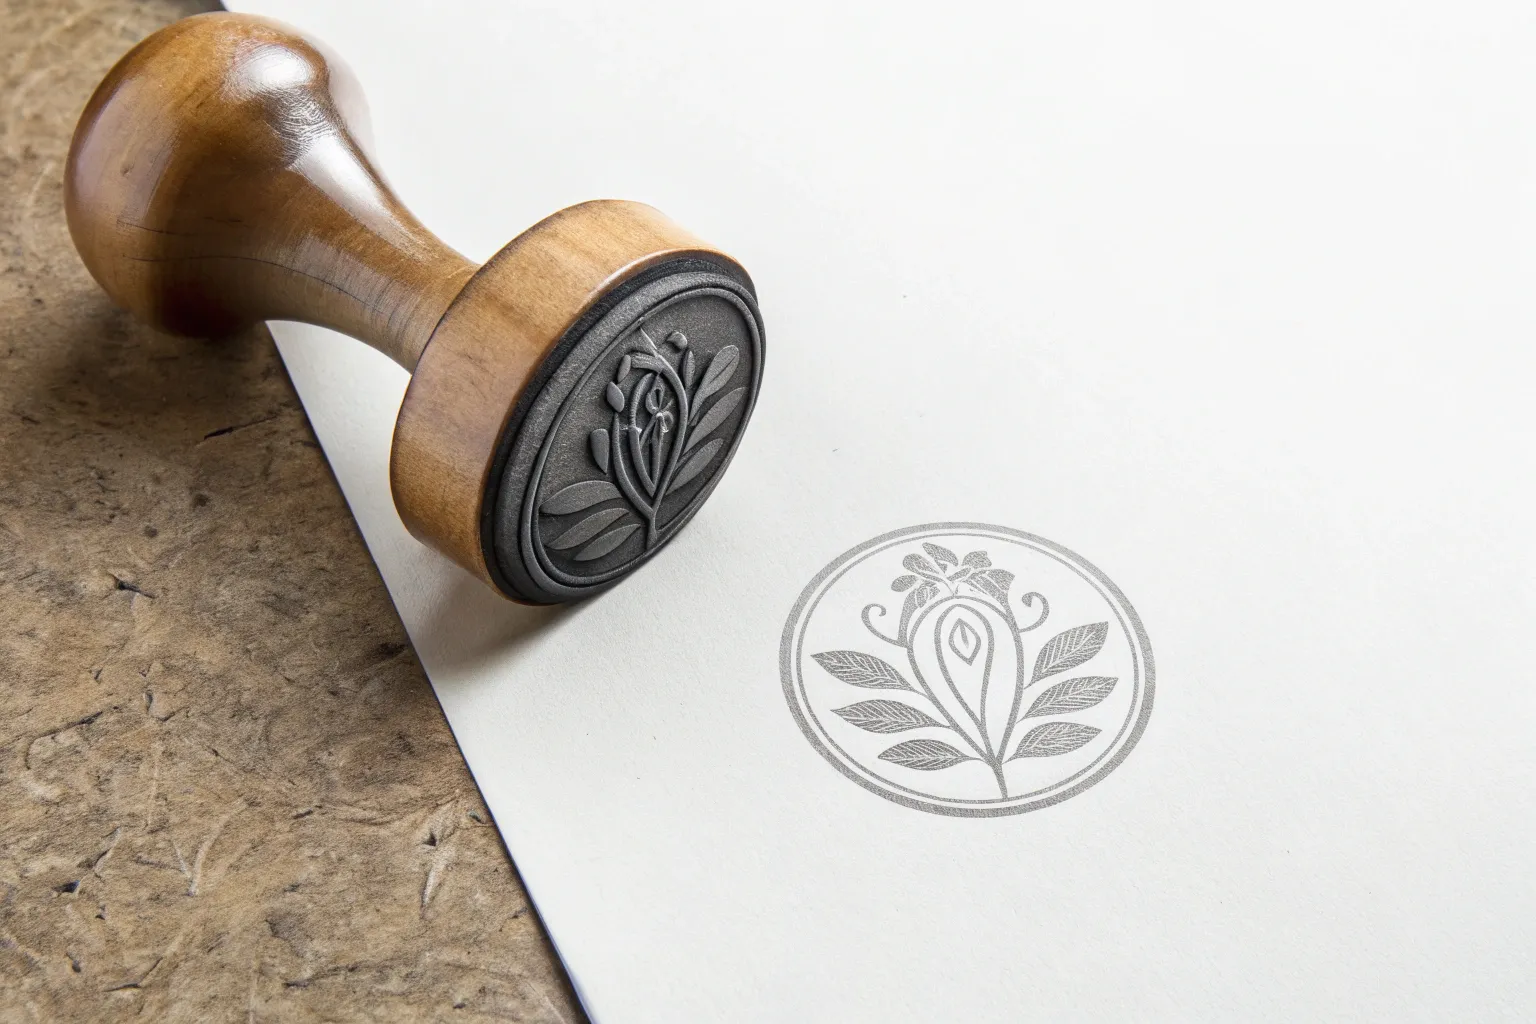
Creating custom gift wrap through hand-carved stamps transforms ordinary paper into something entirely personal. It’s a practice that merges art with function, offering results that feel thoughtful and one-of-a-kind. The process may seem intricate at first glance, but with the right guidance, it becomes both approachable and deeply satisfying.
Why Carve Your Own Stamps?
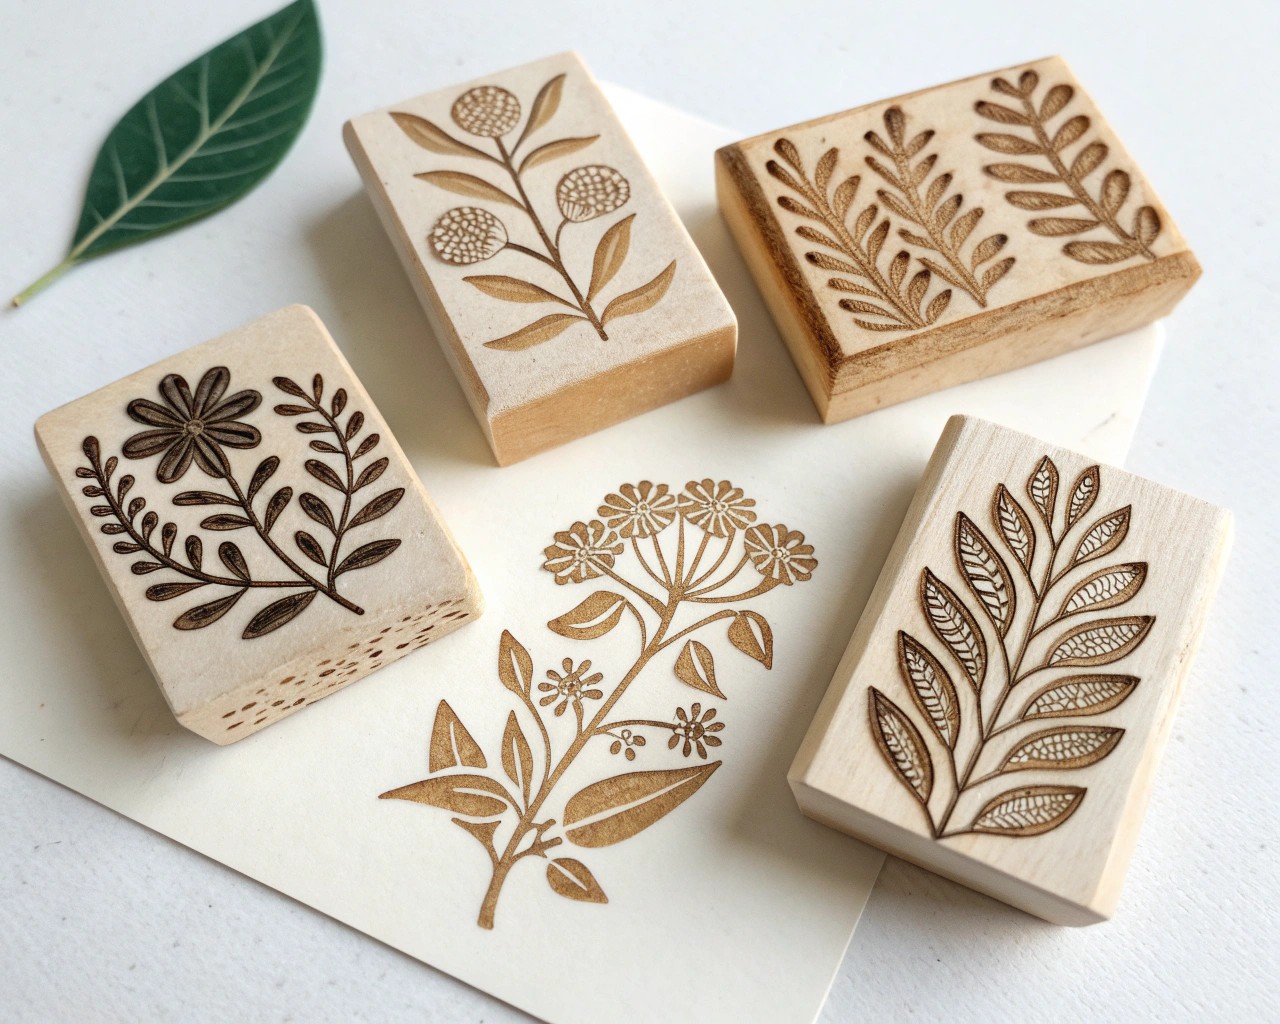
Hand-carving stamps opens the door to truly original printmaking. Unlike store-bought motifs, which repeat endlessly, your versions can hold meaning—whether inspired by a favorite plant, a minimalist shape, or a family monogram. Because the design work is yours, the wrap itself becomes part of the gift, reflecting attention and care.
Stamp carving also teaches you about positive and negative space in design. Thinking this way sharpens your creative problem-solving: what you remove is as essential as what you leave behind. Over time, you gain better control of symmetry, repetition, and textural contrast, which all enhance your finished prints.
Materials You’ll Need
A successful project hinges on preparation. Below is a breakdown of practical tools and surfaces.
For Carving
- Carving block: A soft, rubber-like material is easiest for beginners. It allows clean cuts without requiring force. You can cut larger sheets into smaller sections for multiple stamps.
- Carving tools: A set with interchangeable gouges (V-shaped and U-shaped) gives versatility for detail and broad background removal.
- Pencil and tracing paper: For transferring your drawing with accuracy.
- Craft knife: For trimming edges and removing stubborn corners.
- Ruler: Optional, but helps you plan balanced motifs.
For Printing
- Ink pads or block printing ink: Water-based inks dry quickly and reduce smudging. Fabric inks also work if you want stamp flexibility beyond paper.
- Brayer (roller): Useful if you’re working with ink in trays rather than pads, ensuring an even coating.
- Plain kraft or butcher paper rolls: Kraft paper provides a neutral background and holds ink without bleeding.
- Protective surface covering: Scrap cardboard, newsprint, or a cutting mat keeps your work area clean.
Step 1: Sketch and Transfer Your Design
Start with a pencil sketch. Minimal line drawings work best for stamping—think clean silhouettes over intricate detail.
Tips to Guide Your Sketching:
- Test several variations at a small scale on plain paper before choosing.
- Create outlines bold enough that they won’t break down under repeated stamping.
- Remember: fine lines are harder to carve cleanly, especially for beginners.
Once satisfied, place tracing paper over the sketch and draw the finalized outline. Flip it (pencil-side down) onto the block, then rub the back firmly with a spoon or bone folder. The drawing appears as a reversed imprint, ready for carving.
Step 2: Carve with Control
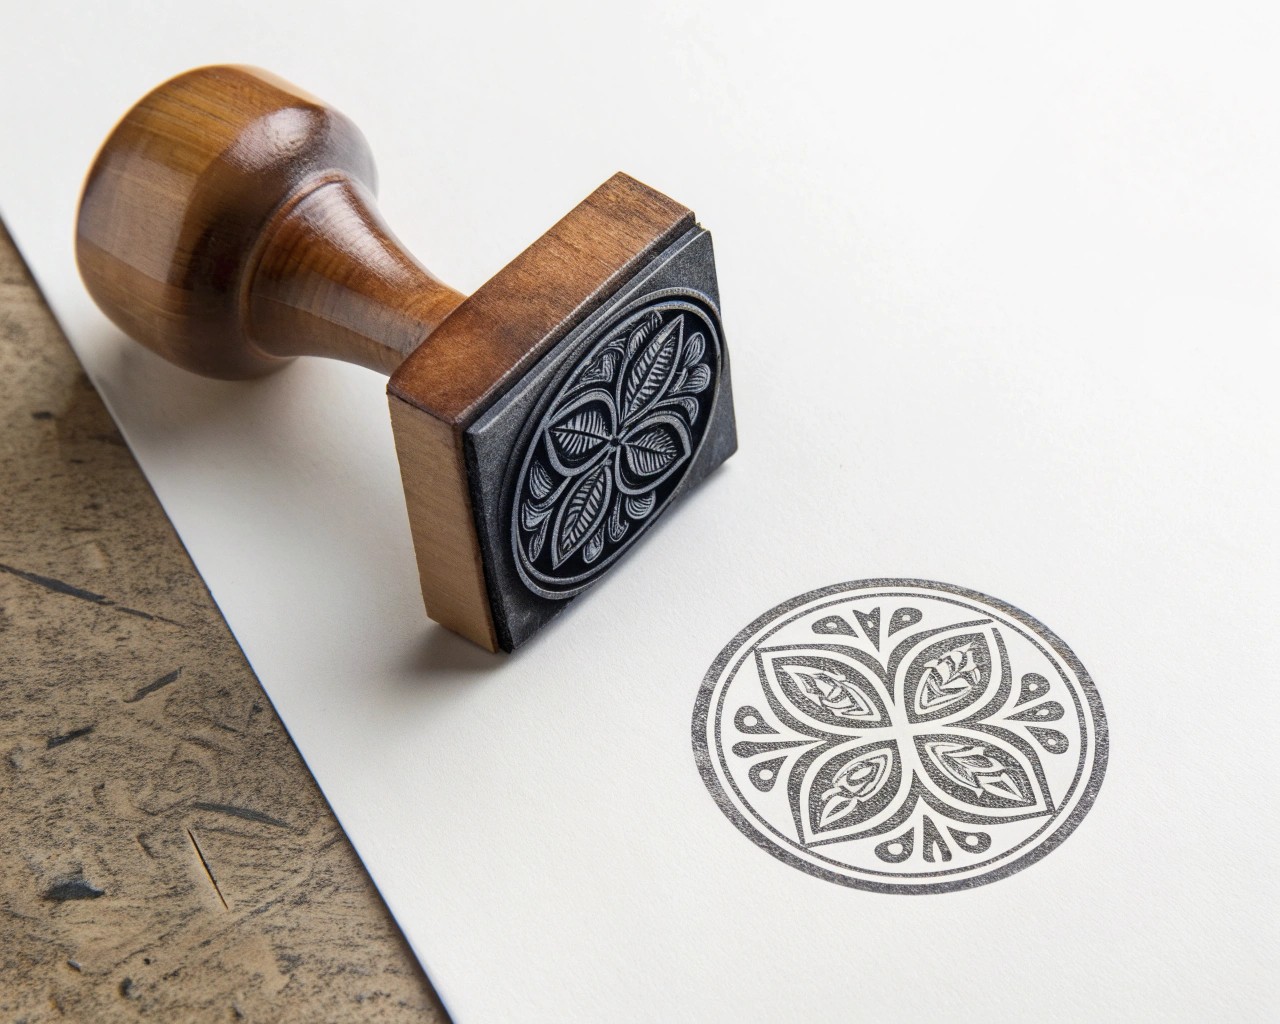
Carving is all about intentional removal. Begin slowly:
1. Outline your drawing with a shallow gouge, defining the main form.
2. Gradually remove background material around it, carving away from your hand.
3. Switch to smaller gouges for curves and fine edges.
4. Rotate the block rather than your wrist—it gives cleaner motion and reduces slips.
I’ve learned that working in layers rather than digging deeply in one pass keeps blocks more stable and prevents unintentional cuts. If you do remove too much material, don’t worry—imperfections often enhance the charm of a handmade print.
Step 3: Test and Refine
Before printing on your gift wrap roll:
- Ink the carved block lightly using a pad or brayer.
- Stamp on scrap paper.
- Check for inconsistencies: incomplete edges, extra marks, or shape distortions.
For stray marks, trim away raised surfaces with your knife. For weak impressions, ensure you’re pressing evenly, or carve more deeply in shallow areas to prevent unnecessary ink pickup.
Step 4: Print on Gift Wrap Rolls
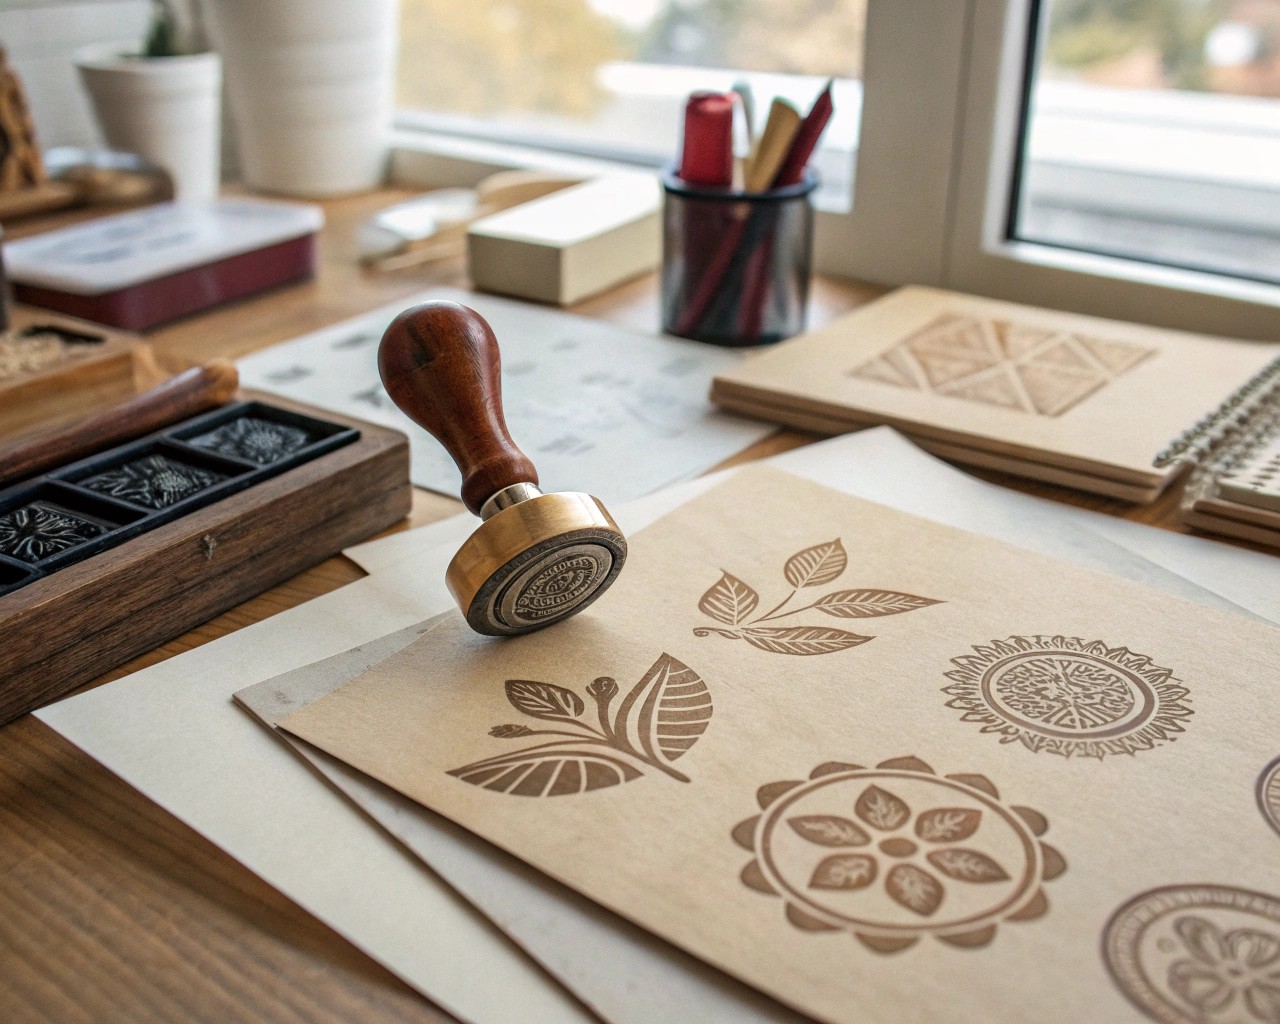
Unroll a section of kraft paper across your table, securing the ends with tape to prevent shifting. Work from one side to the other in deliberate motions.
Printing Techniques
- Grid Repeat: Align images using a ruler and light pencil marks (which can be erased after). Great for geometric motifs.
- Random Scatter: Rotate the stamp between impressions. This approach gives rhythm while avoiding a too-perfect look.
- Half-drop Repeat: Offset each row of stamps for a textile-inspired pattern.
- Borders Only: Print along edges or in bands to frame plain paper centers.
A common mistake is over-inking. A thin layer usually produces crisper designs. Press down firmly but not long—holding the stamp too long risks smudging.
Inspiration and Variations
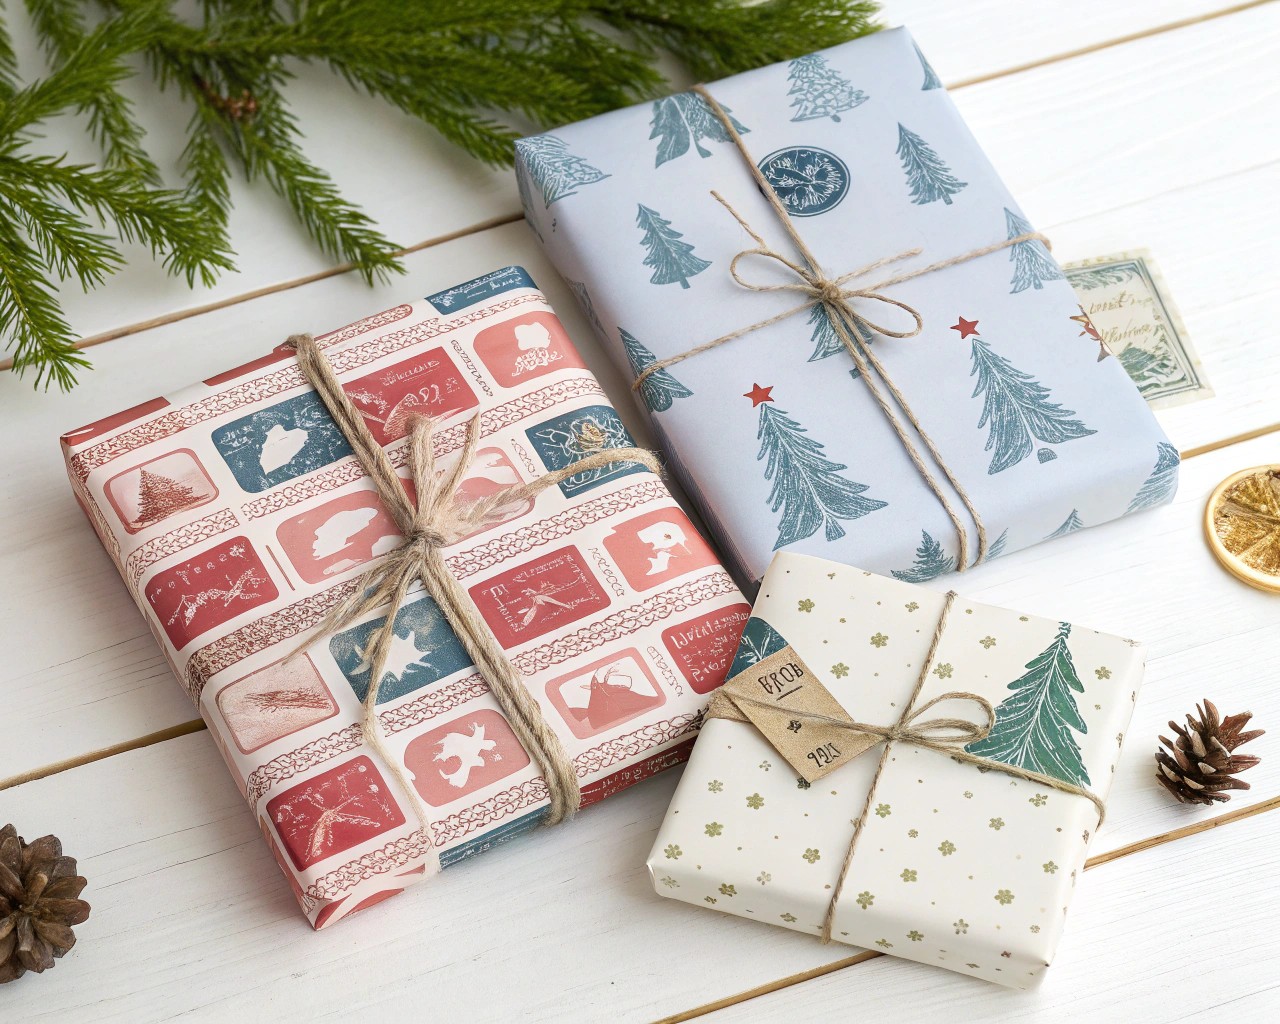
Here are adaptable design themes:
| Theme | Example Motifs | Practical Uses |
|---|---|---|
| Geometric | Chevron, triangles, concentric arcs | Sleek, modern gifts for colleagues or adults |
| Botanical | Fern fronds, leafy stems, cattails | Perfect for weddings, holidays, natural tones |
| Seasonal | Snowflakes, pumpkins, suns, acorns | Versatile designs for winter or fall gifting |
| Whimsical | Balloons, clouds, scribbled stars | Excellent for children’s birthdays or casual gifts |
| Monogram | Simple initials, letter blocks | Custom wrap for anniversaries or personal events |
Tips for Best Results
- Use multiple stamps together: A leaf base with a small berry overlay creates layered sophistication.
- Color control: Stick to two or three colors in one roll for visual harmony. Try one bold hue with neutrals for balance.
- Drying matters: Set aside your printed roll for at least an hour before cutting. Drying times vary depending on ink.
- Storage: Keep your carved stamps flat in envelopes, away from direct heat or sunlight. They’ll last for years.
- Combination prints: Experiment with paints, pastels, or metallic pens to highlight stamped motifs after the base layer is dry.
The Added Value of Handmade Gift Wrap
Wrapping a gift in hand-stamped paper elevates even modest presents. I’ve noticed guests linger on the wrapping itself, often saving the paper rather than discarding it. The wrapping becomes a keepsake, which brings more joy into the exchange.
Over time, this project builds a small “stamp library,” and with it, endless reusable design opportunities. A simple fern carved now might appear at winter holidays in silver ink or in springtime greens with playful arrangements.
Closing Thought
Carving your own stamps is less about perfection and more about creativity expressed through simple tools. Each slip of the gouge, each press of the stamp, adds individuality impossible to replicate in mass-printed papers. When you see a gift wrapped in your custom design, you’re reminded that even ordinary roll paper can become a canvas for personal artistry.

