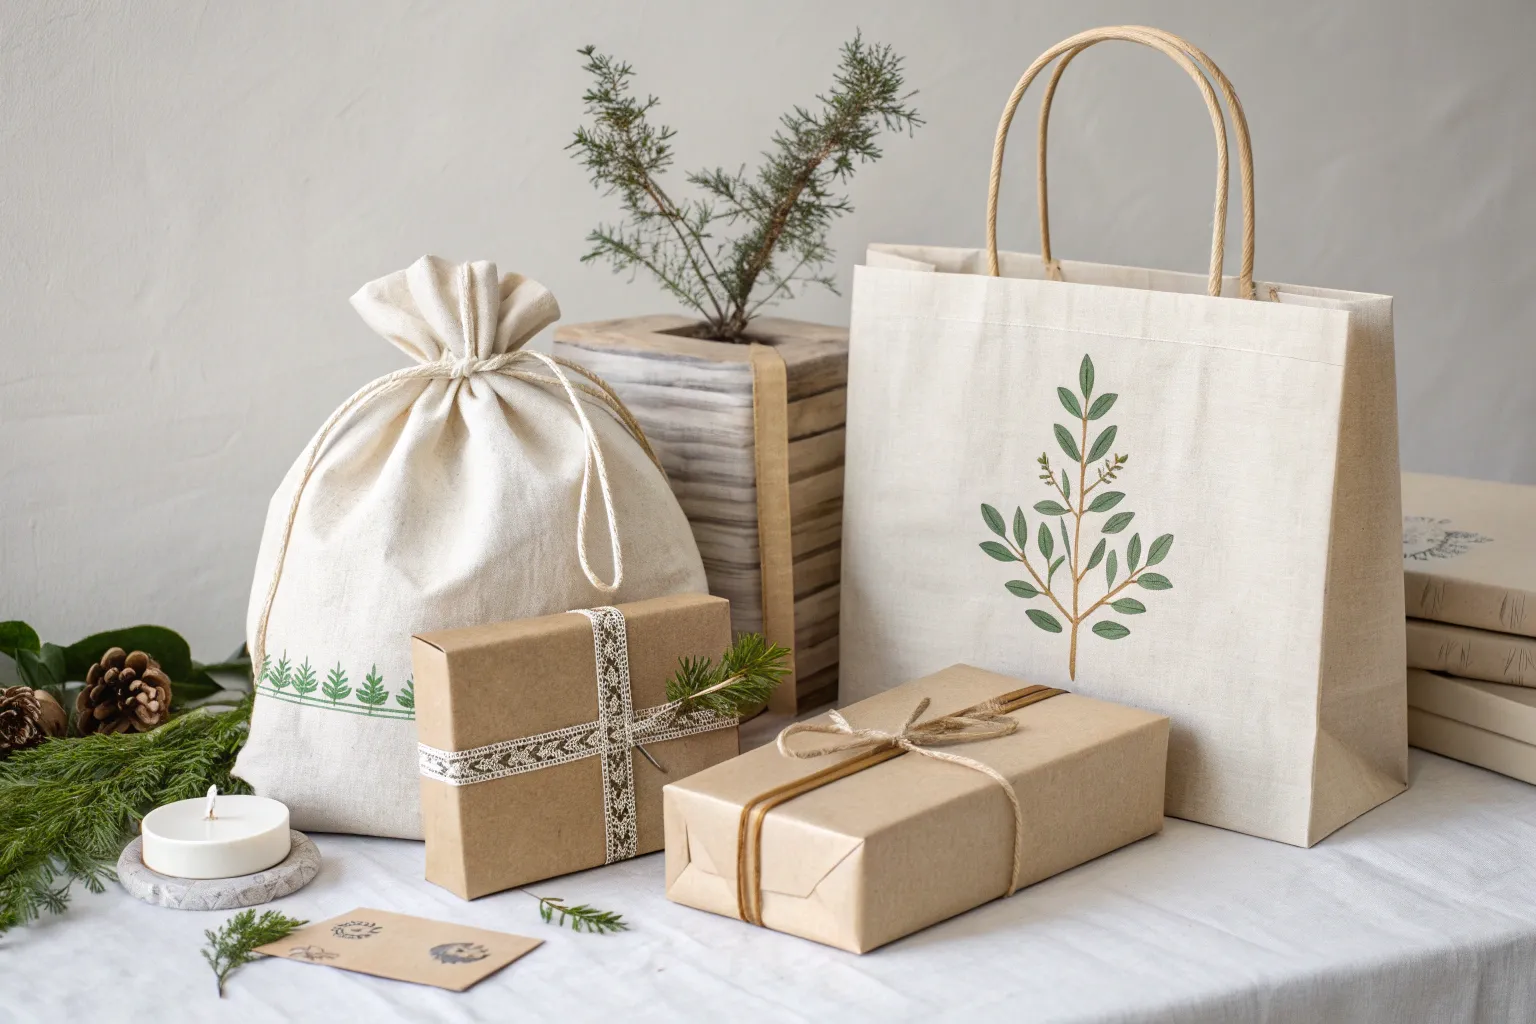
Cardboard tubes wrapped in kraft paper can be elevated into striking, reusable gift boxes. With careful construction and a few creative touches, you’ll end up with packaging that feels bespoke, professional, and environmentally kind.
Why Cardboard Tubes Make the Perfect Base
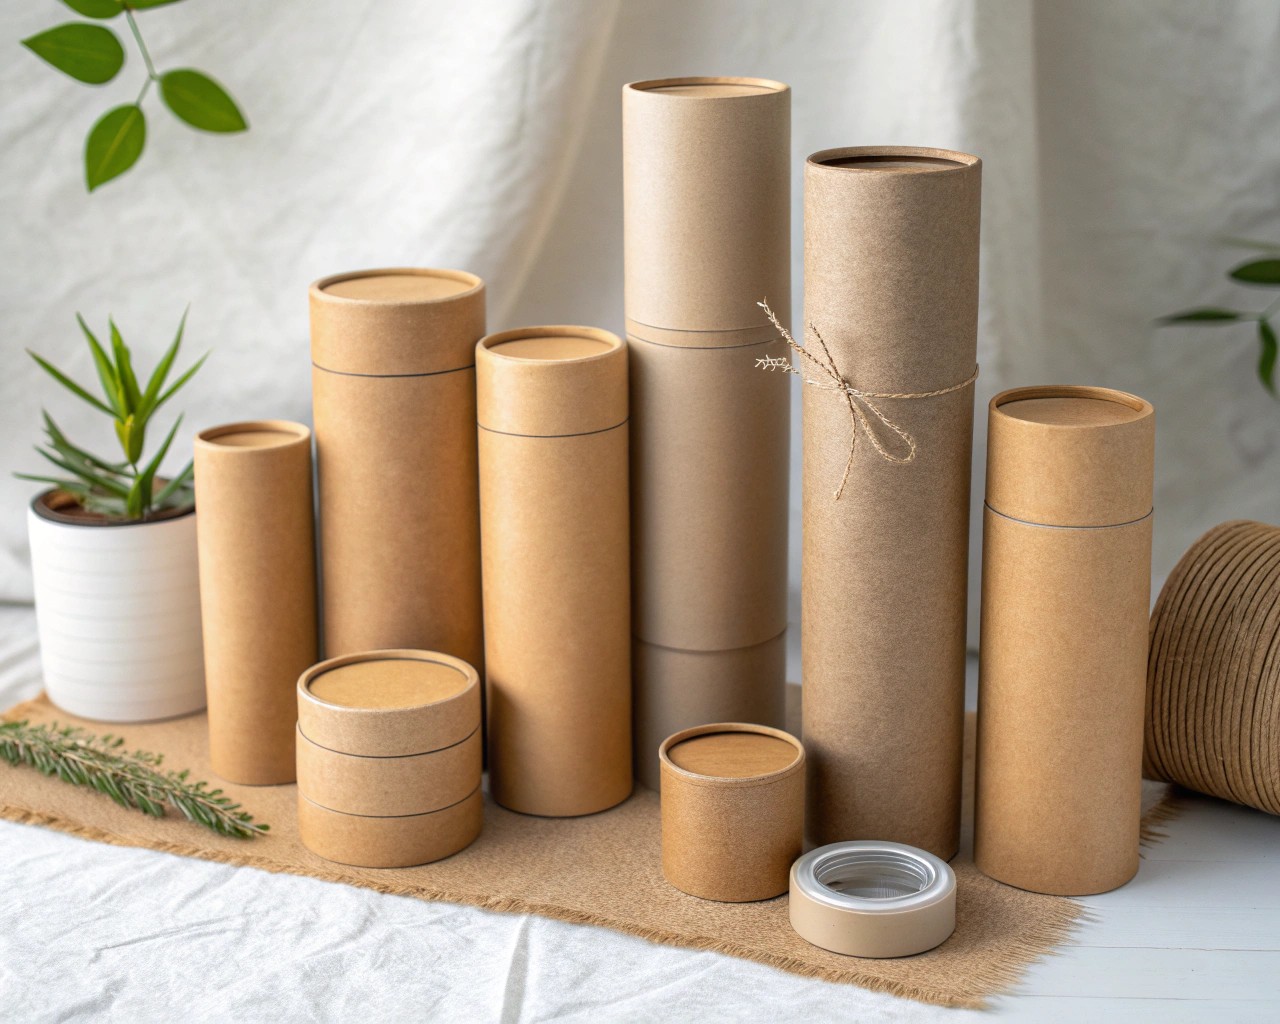
Cardboard tubes are often overlooked, yet they have unique qualities that make them exceptional for gift packaging:
- Exceptional Structural Integrity: The cylindrical geometry resists both radial and axial loading, which means the box won’t crush easily under normal handling.
- Cut-to-Size Flexibility: Unlike store-bought boxes, tubes can be cut exactly to the dimensions of the gift — whether you’re packaging baked goods, skincare jars, or rolled textiles.
- Eco-Friendly Origins: Most tubes and kraft papers are derived from recycled cellulose fibers, contributing to a closed-loop material cycle.
- Minimalist Appeal: The matte brown texture of kraft paper is timeless and adapts beautifully to both rustic and contemporary styling.
I’ve worked on packaging for fragile ceramics, and cylindrical tubes consistently provided the best balance of protection and aesthetics.
Materials Checklist
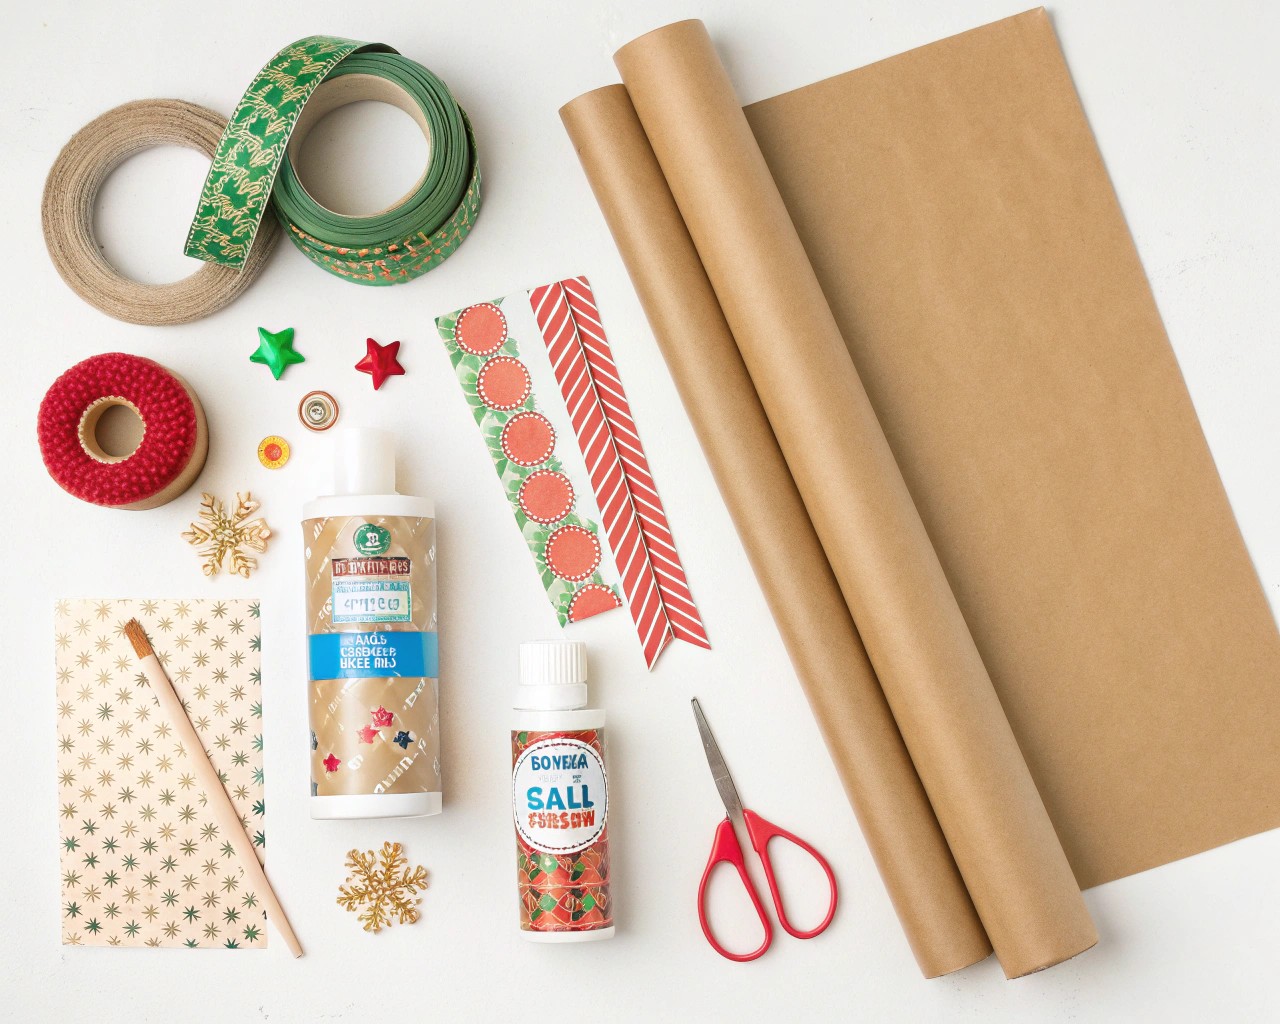
| Material | Use Case | Pro Tips |
|---|---|---|
| Cardboard tube | Primary box body | Choose heavy-wall tubes for delicate gifts. |
| Kraft paper (sheet or roll) | Wrapping and decorative exterior | Thicker 80–100 gsm paper provides durability without bulk. |
| Hot glue / strong craft glue | Securing lids and seams | Apply thin layers to prevent warping. |
| Double-sided tape | Clean seam finishes and quick attachment | Useful for decorative wraps. |
| Cardstock or chipboard disks | Creating rigid end caps | Trace tube ends to ensure accuracy. |
| Craft knife, ruler, pencil | Precise measuring and cutting | Replace blades frequently for smooth cuts. |
| Decorative accents | Ribbons, twine, stamps, pressed leaves, or stencils | Keep accents proportional to box size. |
| Optional fillers | Shredded kraft, tissue paper, dried moss | Adds cushioning while enhancing presentation. |
Step-by-Step Guide
Step 1: Cut and Prepare the Tube
- Decide the exact gift size. Measure the item and add at least ½ inch clearance at the top and bottom.
- Mark the cut line with a pencil, wrap a sheet of paper around the tube to serve as a straightedge, and cut.
- Smooth rough edges using a fine-grit sandpaper for a polished look.
Step 2: Build the Base and Lid
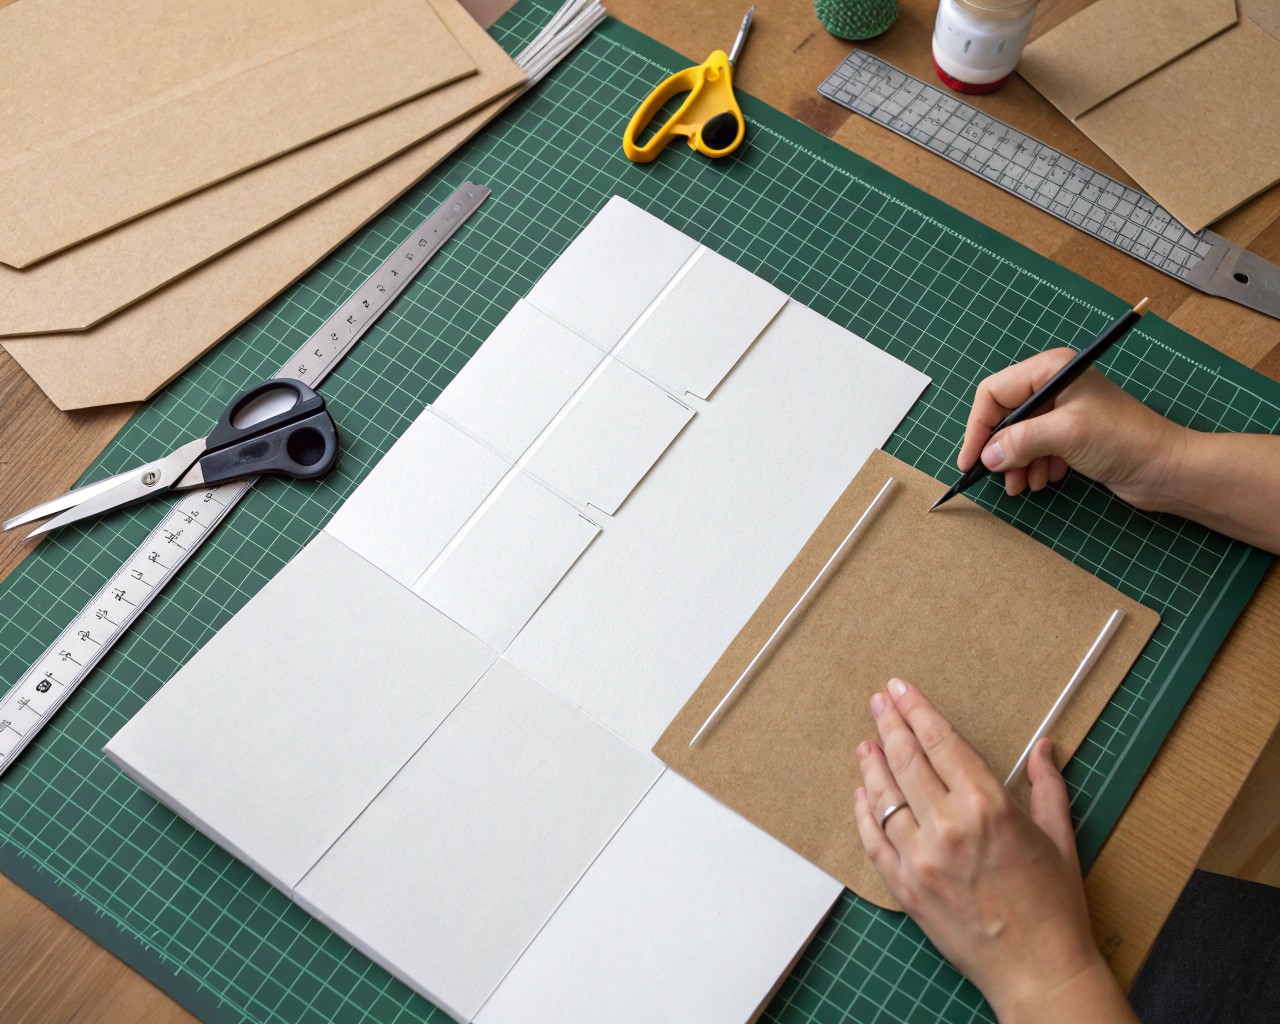
- Trace the tube’s circular profile onto cardstock. For stability, cut two disks for the base and glue them together.
- Secure the base disk with strong glue around the lower rim of the tube.
- For the lid, cut another circle, but also create a narrow strip of cardstock — about ½ inch taller than the tube wall thickness. Form a ring and attach it beneath the lid circle. This collar allows the lid to slide over the tube without wobbling.
Tip: To enhance reusability, cover the lid separately with kraft paper before fitting it. This creates a cleaner appearance and makes the box easier to reopen without damage.
Step 3: Wrapping with Kraft Paper
- Cut a rectangle of kraft paper large enough to cover the tube with a 1-inch overlap.
- Roll the tube onto the paper while applying glue sparingly at intervals to prevent bubbling.
- Tuck excess paper over the rims, smooth outward with your fingers, and secure.
- For an uninterrupted look, align the seam neatly at the back of the box.
Step 4: Interior Lining (Optional but Impactful)
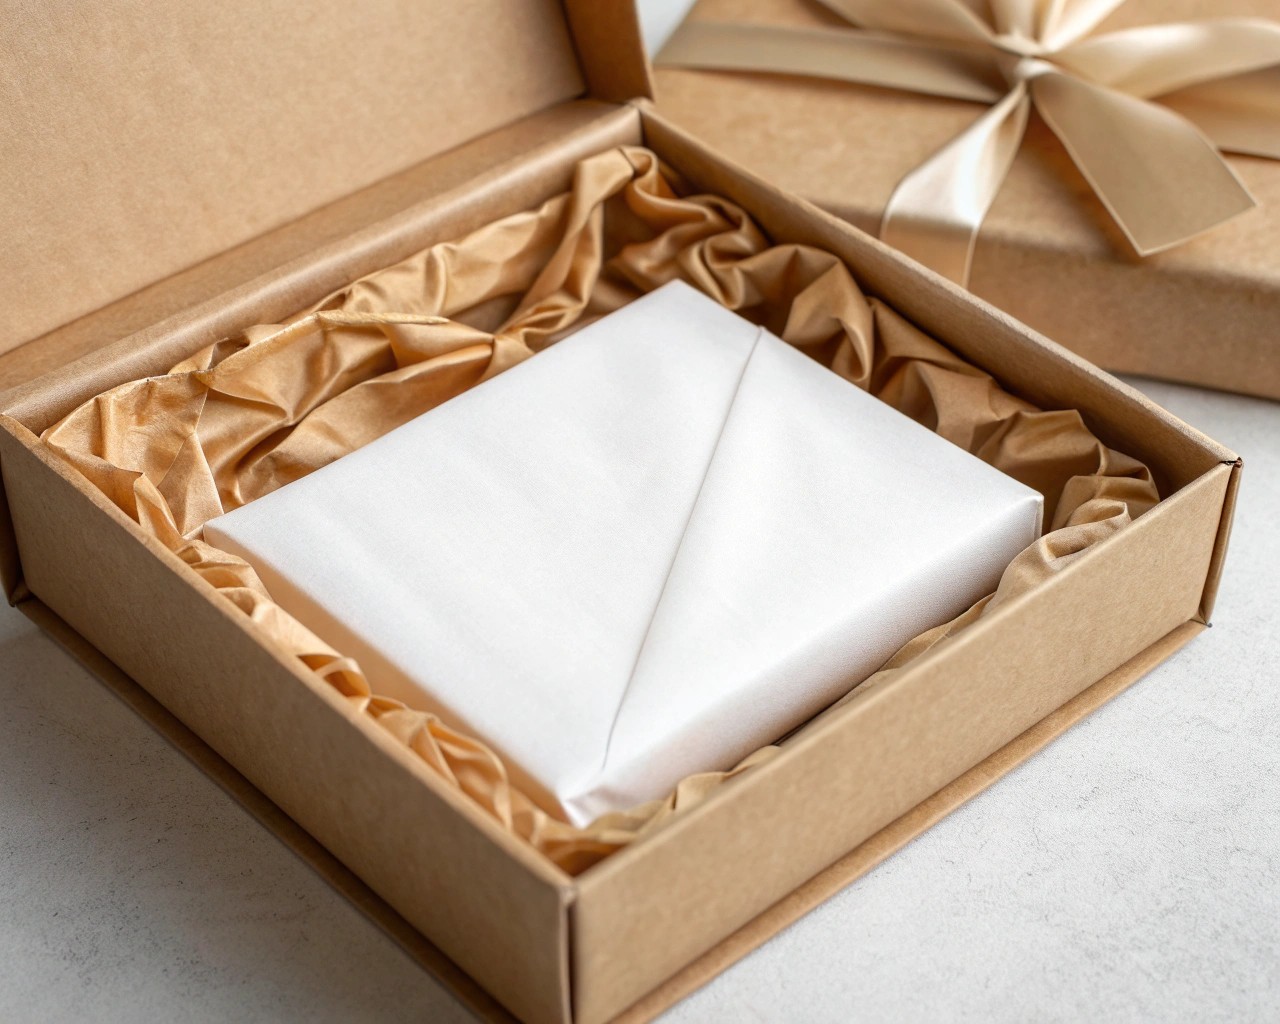
- Cut a piece of kraft or patterned paper to fit inside the tube.
- Roll and slide it in for a professional “finished interior.”
- This not only improves presentation but also protects delicate items from direct contact with cardboard fibers.
Step 5: Final Decoration
- Add a band of ribbon, lace, or contrasting kraft paper vertically for refinement.
- Apply hand-drawn motifs with white ink pens or metallic markers.
- Stamp monograms or seasonal motifs for customization.
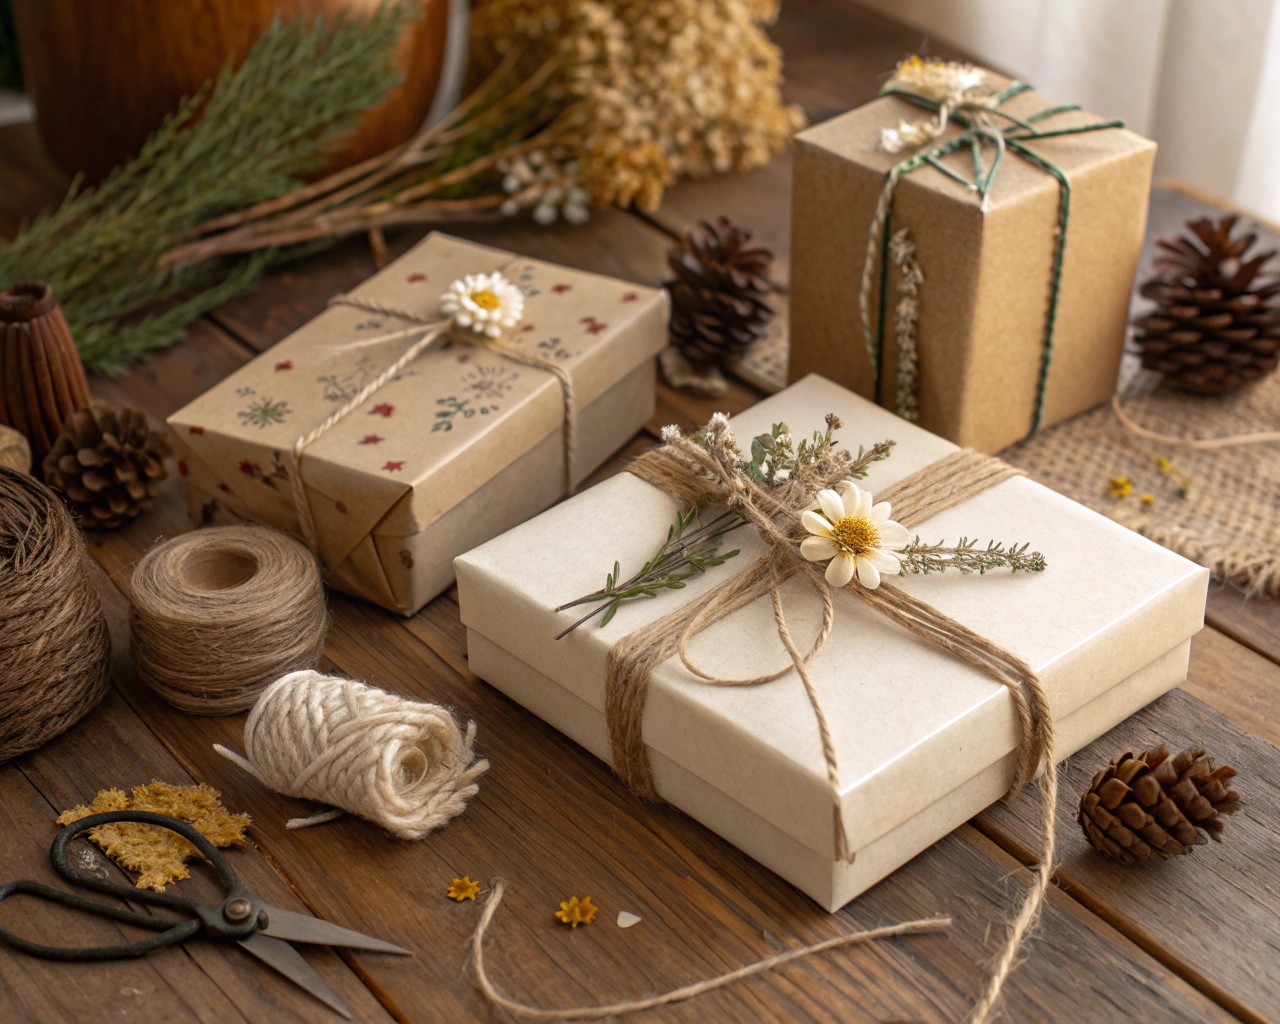
- Secure fresh elements (dried flowers, evergreen sprigs) under twine for natural charm.
Styling Ideas and Variations
| Theme | Materials & Details | Gift Suggestions |
|---|---|---|
| Rustic Farmhouse | Blend raw kraft, jute twine, dried herbs, or wax seals | Artisan soaps, teas, handmade candles |
| Minimalist Modern | White kraft, matte black ribbon, geometric marker strokes | Stationery, journals, grooming items |
| Festive Holiday | Deep red kraft, foil-printed labels, fresh pine tied with cord | Cookies, ornaments, sweet treats |
| Children’s Fun | Bright kraft colors, stenciled animals, tied with yarn pom-poms | Toys, candy, craft kits |
| Luxury Finish | Black kraft base, gold embossing powder accents, satin ribbon | Jewelry, perfumes, gourmet snacks |
Example from my own work: I once designed a holiday tube for handmade fudge. I lined the interior with parchment, tied the outside in gold twine, and added a custom kraft label. The packaging alone received as many compliments as the gift.
Design Techniques for Precision
- Mitigation of Warping: Always apply glue in thin horizontal strokes; pooling glue can cause the kraft wrapper to wrinkle.
- Modular Storage: Create divider disks to split the tube into compartments for mixed gifts, such as a tea sampler with cookies.
- Air-Tight Closure: For food gifts, line the interior with waxed kraft paper before adding the lid.
- Embossed Feel: Use a bone folder or scoring tool to press patterns into the kraft without ink.
Enhancing Durability and Presentation
- Seal the Exterior: For a smoother, more durable finish, lightly brush on a thin coat of decoupage medium over the kraft layer. This protects against smudges.
- Transport-Friendly: When giving fragile goods, line the base with cushioning filler and secure items so they don’t shift.
- Reusability in Mind: A well-constructed tube box can last for years as a storage container — meaning your gift packaging continues to provide value.
The Value of Handmade Packaging
These custom cylinders are more than containers; they reflect intention. A box made from cardboard tubes and kraft paper holds shape, protects its contents, and tells a story of sustainability and care. When done thoughtfully, the recipient invariably notices the craftsmanship — sometimes cherishing the box long after the gift itself is used.

