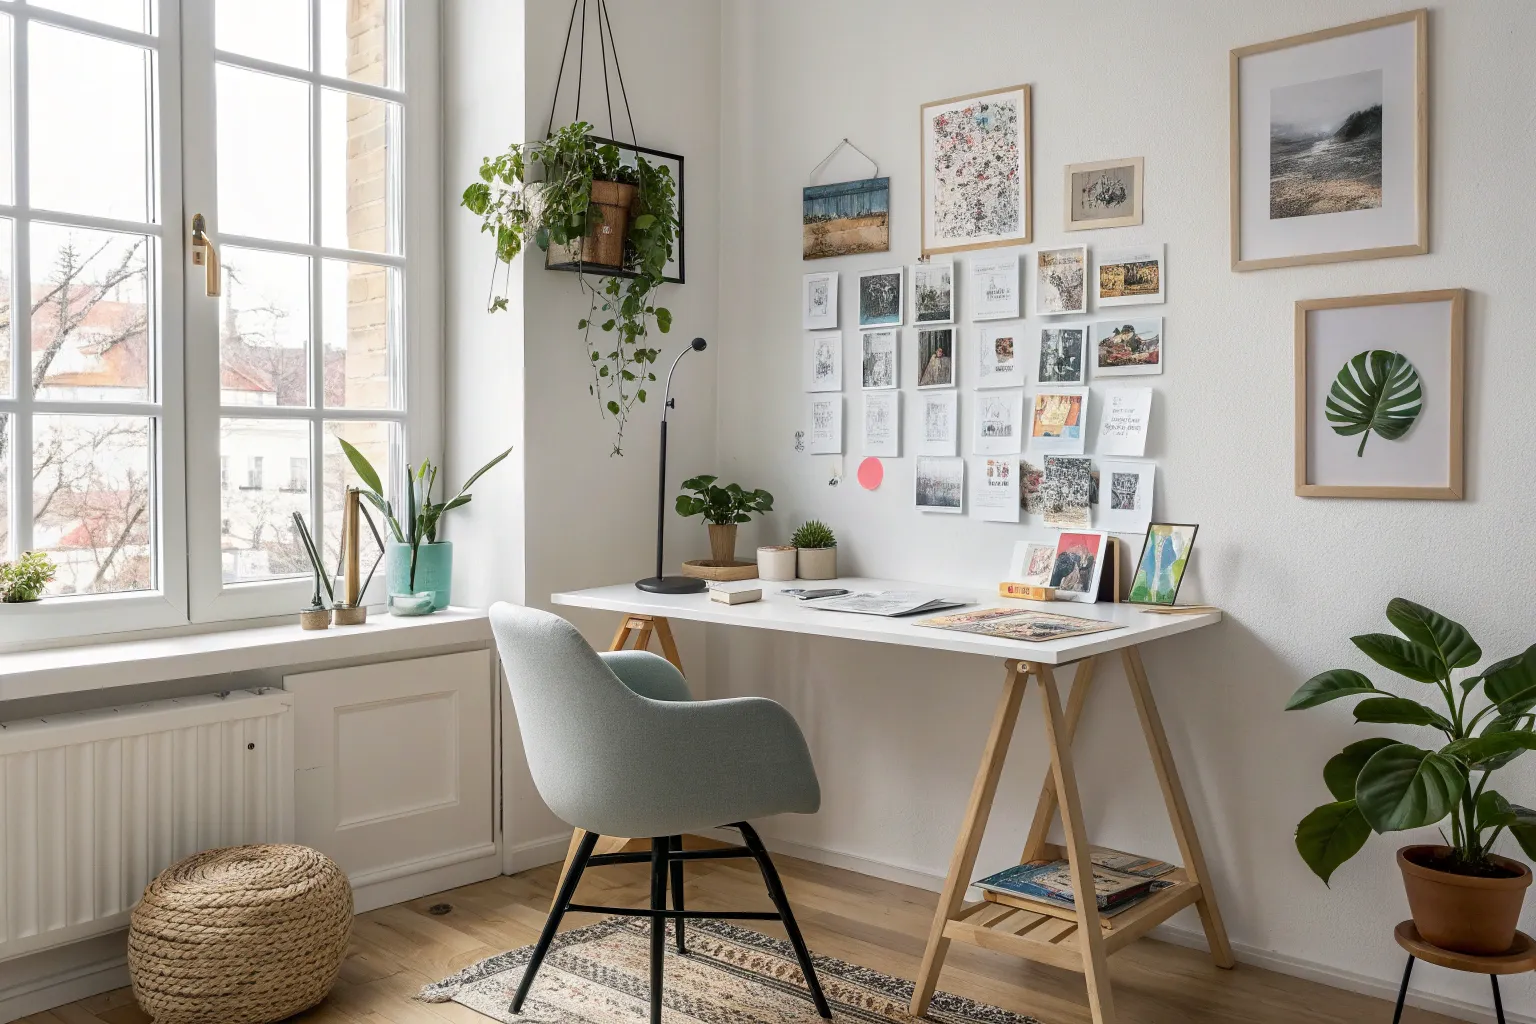
A moodboard station is a focused workspace that helps you turn scattered ideas into a clear vision. By combining simple materials like washi tape and printed cards, you can create a versatile display that evolves with your creativity and projects.
The Value of a Physical Moodboard
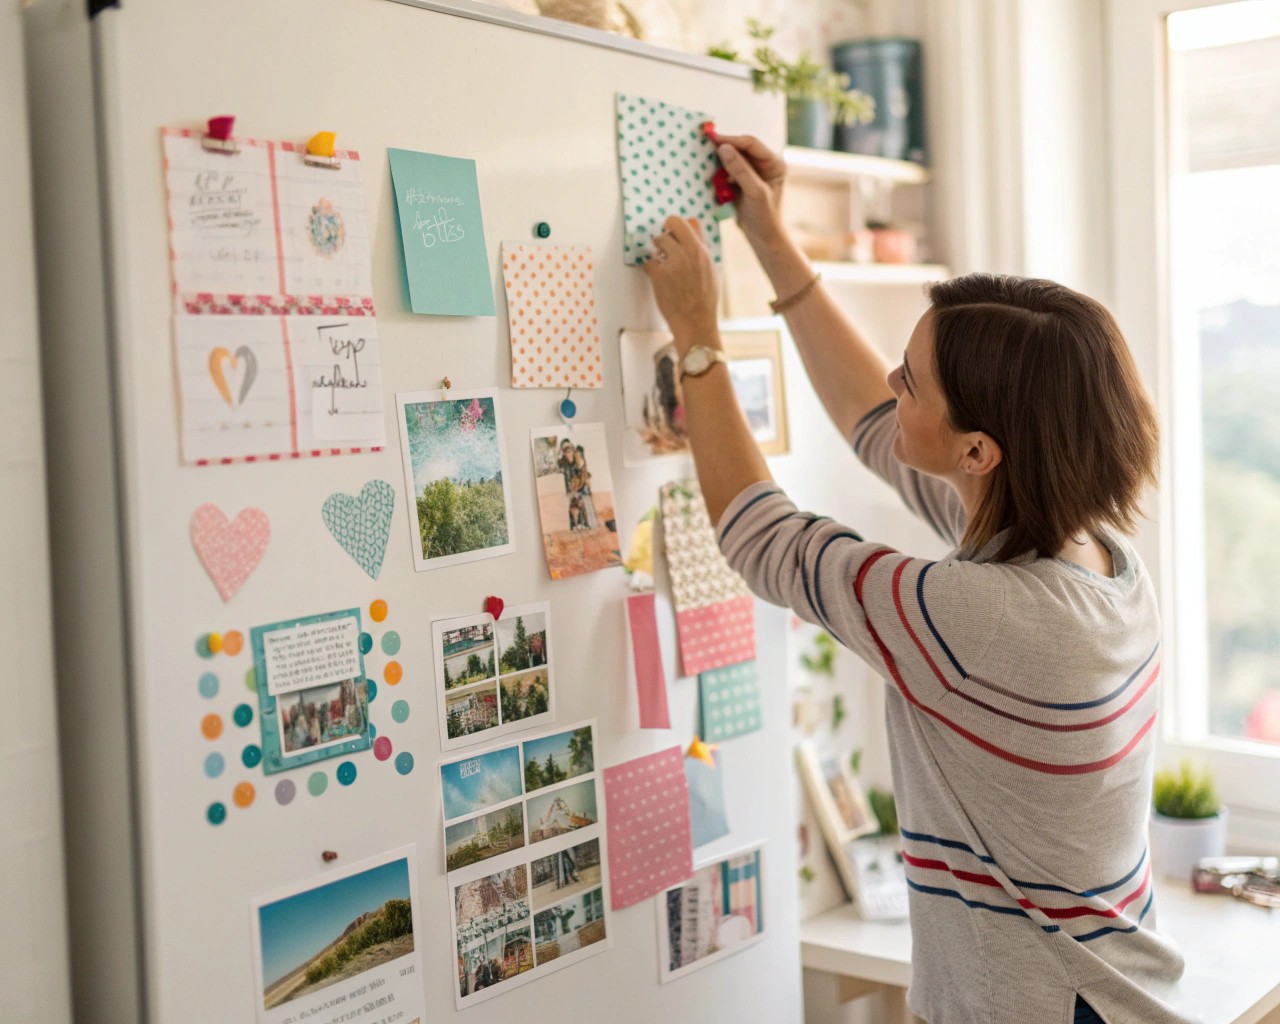
Moodboards are widely used for design, planning, and brainstorming, but many people only experience them through apps or online platforms. A physical moodboard station provides a different kind of engagement:
- Intentionality: You print and cut only what truly resonates.
- Tactility: Handling materials allows for deeper sensory awareness.
- Focus: A physical presence encourages you to step away from screens.
- Flexibility: Washi tape gives you a temporary, damage-free way to rearrange content as ideas shift.
I’ve noticed that this tactile process often produces stronger connections between ideas. Seeing things grouped physically—without the distraction of endless scrolling—helps you recognize patterns you might otherwise miss.
Finding the Perfect Location
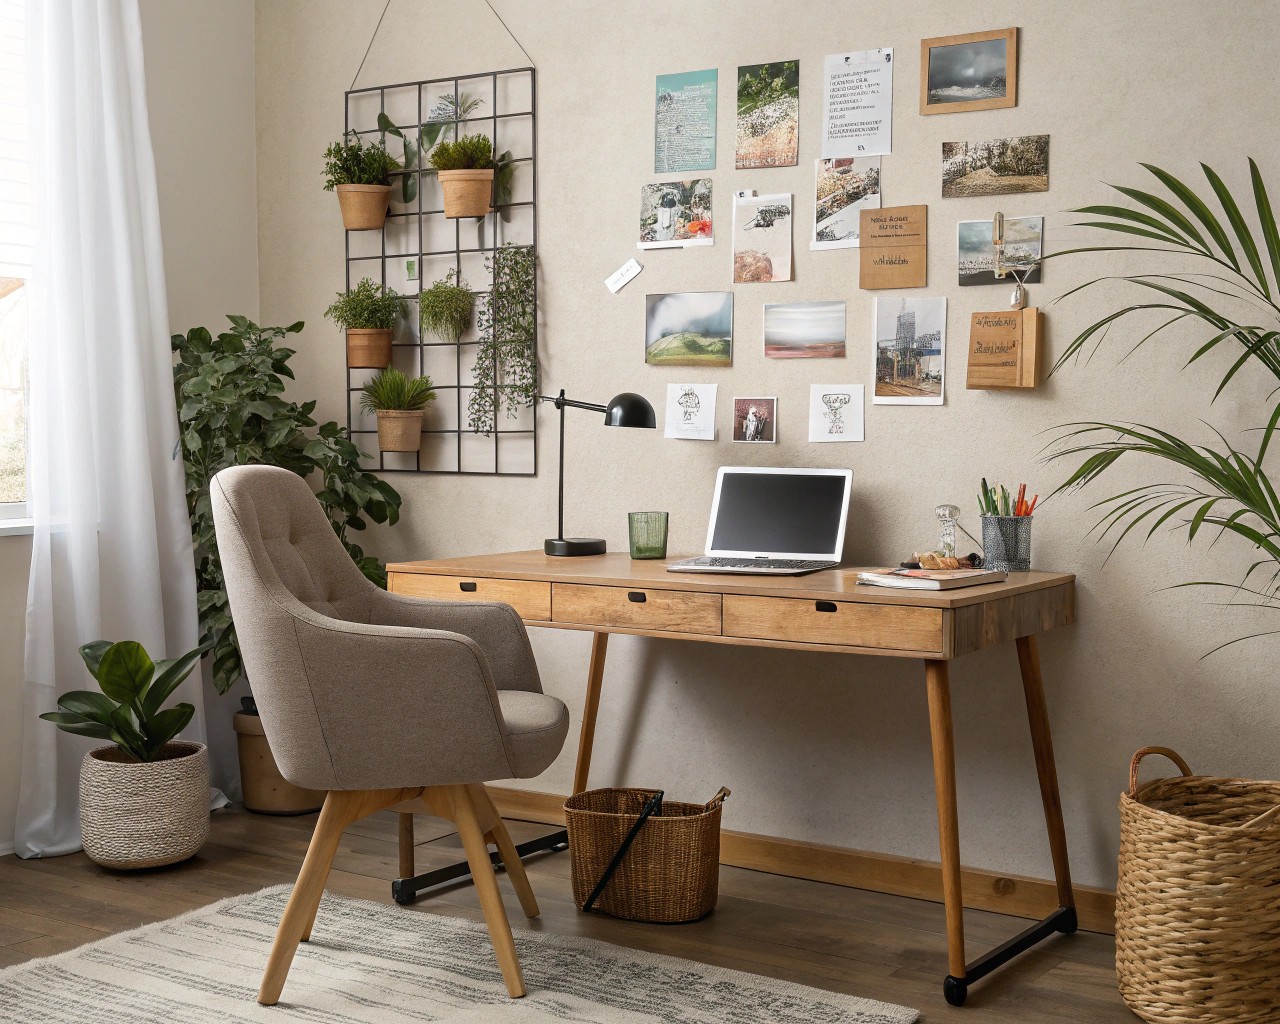
The right setting for your moodboard station depends on how you plan to use it:
- Dedicated Studio or Workspace: If you have a creative room, install a large corkboard, magnetic board, or even a framed panel of foam core directly on the wall.
- Small Spaces: Create a focused zone by outlining an area with painter’s tape directly on a wall or use a large piece of sturdy board that can lean against the wall on a desk or shelf.
- Flexible/Portable Use: A folding tri-fold display board works well for those who want to put the moodboard away between sessions.
Place your station where you can see it often. A moodboard works best when it quietly influences your environment and serves as a constant prompt for creative thinking.
Essential Materials
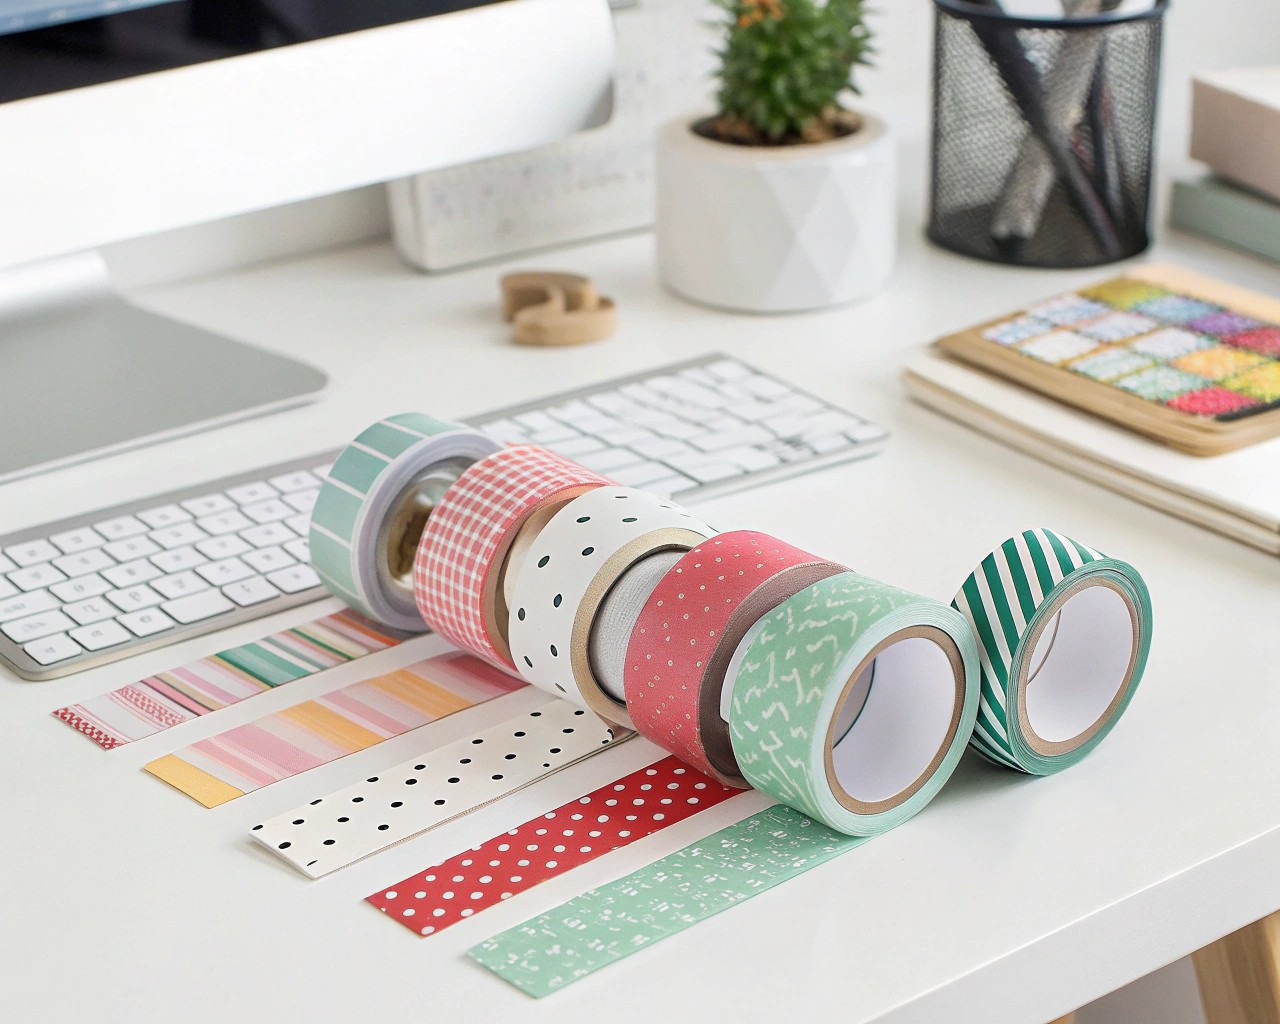
Below is a breakdown of what you’ll need and how to adapt each element depending on your project:
| Material | Purpose | Tips & Creative Alternatives |
|---|---|---|
| Washi tape | Secures cards without leaving residue | Use grids with plain tape for structure, or patterned tape to add decorative interest |
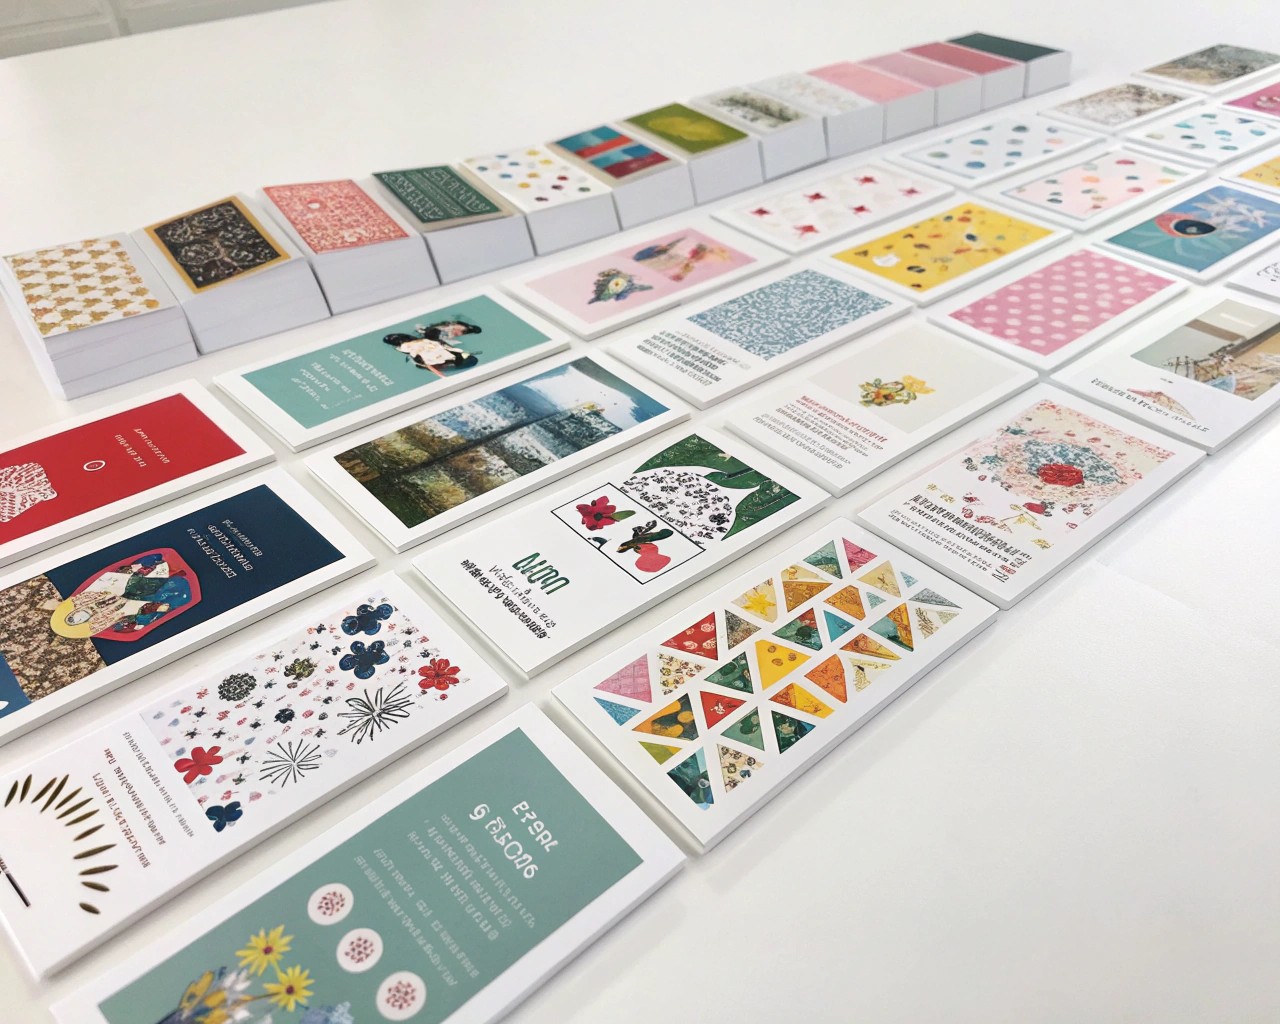
| Printed cards | Core building blocks | Print words, photography, illustrations, or solid color swatches on cardstock for durability |
| Surface base | Anchor point for your layout | Corkboard, foam core, magnetic whiteboard, or a simple wall |
| Scissors or craft knife | Precise cutting | Helps maintain crisp edges; consider decorative edge scissors for texture |
| Ruler or template | Guides alignment | Optional for grid-based layouts; skip it if you prefer organic, collage-style flow |
| Storage jar or box | Keeps materials sorted | A small container near the station prevents clutter and makes updating easier |
Step-by-Step Guide to Building Your Station
Step 1: Define Your Purpose
A moodboard is most effective when it aligns with a specific intent. Ask yourself: Am I exploring a long-term design project, developing a seasonal aesthetic, or simply recording inspiration? For example:
- A college student might create a board around colors and patterns for dorm styling.
- A home renovator could gather material samples, paint swatches, and printed images of layouts.
- A writer might mix inspirational words with photos and typography.
Step 2: Gather and Prepare Your Cards
- Print chosen images, text blocks, and color references on cardstock for sturdiness.
- Use consistent sizes for a clean, graphic look, or deliberately vary shapes for an eclectic, organic collage.
- Try including tactile swatches—fabric snippets or textured paper—for a multisensory experience.
Step 3: Plan the Base Structure
- Begin with anchor images: a large photograph, a phrase, or a color block that reflects your theme.
- Affix them lightly with washi tape, leaving excess tape visible as a design element or folding it subtly behind the card for a floating effect.
- Keep some open space for breathing room and future additions.
Step 4: Layer to Create Depth
- Introduce medium-sized details around your anchor elements.
- Experiment with overlapping cards: partial coverage creates hierarchy and visual rhythm.
- Balance imagery with text for both emotional impact and clarity.
- Use diagonal lines or vertical columns to guide the eye.
Step 5: Refine and Adjust
- Step back every few placements and view the arrangement from farther away.
- Adjust tape placement for symmetry or purposeful irregularity.
- Deliberately leave gaps; a crowded board loses clarity and impact.
- Add final touches: a border strip of washi tape, highlighted corner accents, or a subtle background grid.
Advanced Creative Variations
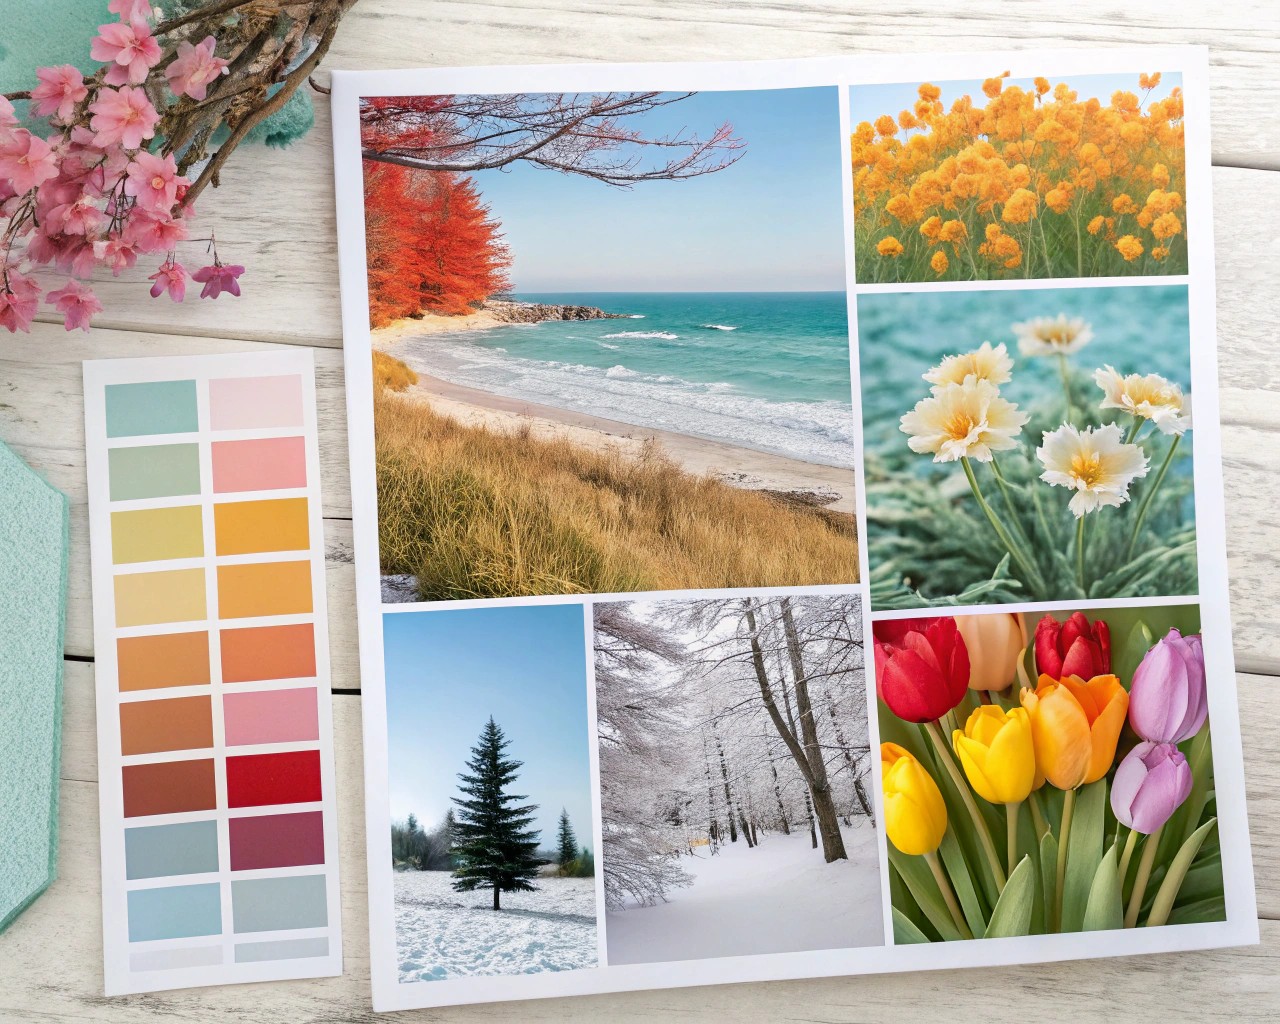
- Monochrome Focus: Build an entire station around a single color in multiple shades to refine tone sensitivity.
- Concept Mapping: Dedicate sections of the board to categories (materials, visuals, words, textures), allowing themes to emerge naturally.
- Seasonal Switch-Outs: At the start of each season, clear and re-theme the board to reflect shifting light, weather, and mood.
- Narrative Board: Arrange cards in a sequence, almost like a storyboard, to chart the progression of a design concept or personal project.
- Mindful Practice: Use cards with affirmations or calming imagery as a personal reflection tool, not just a creative one.
Practical Maintenance Tips
A moodboard should stay fresh and flexible. To keep it effective:
- Regular Refresh: Replace elements every 2–4 weeks to match current goals.
- Documentation: Photograph completed layouts before dismantling. This creates an archive of your process.
- Storage Rotation: Store unused cards in a small box so you can reintroduce them later, avoiding waste.
- Tool Placement: Keep washi rolls and scissors nearby; creativity flows when materials are within reach.
When I’ve used moodboards in my own planning routines, I’ve found they work best as living stations—not finished pieces of art. The value lies in the act of updating, not in creating a “perfect” display.
Closing Thoughts
With little more than washi tape, printed cards, and a surface to build on, you can design a moodboard station that continually fuels your creativity. As the cards shift and the layers evolve, the board becomes a mirror of your thought process—fluid, adaptable, and deeply personal.
This DIY setup combines structure with freedom, allowing you to return day after day to refine your vision. Treated as a dynamic project rather than a finished artifact, your moodboard station becomes not just organizational—but inspirational.

