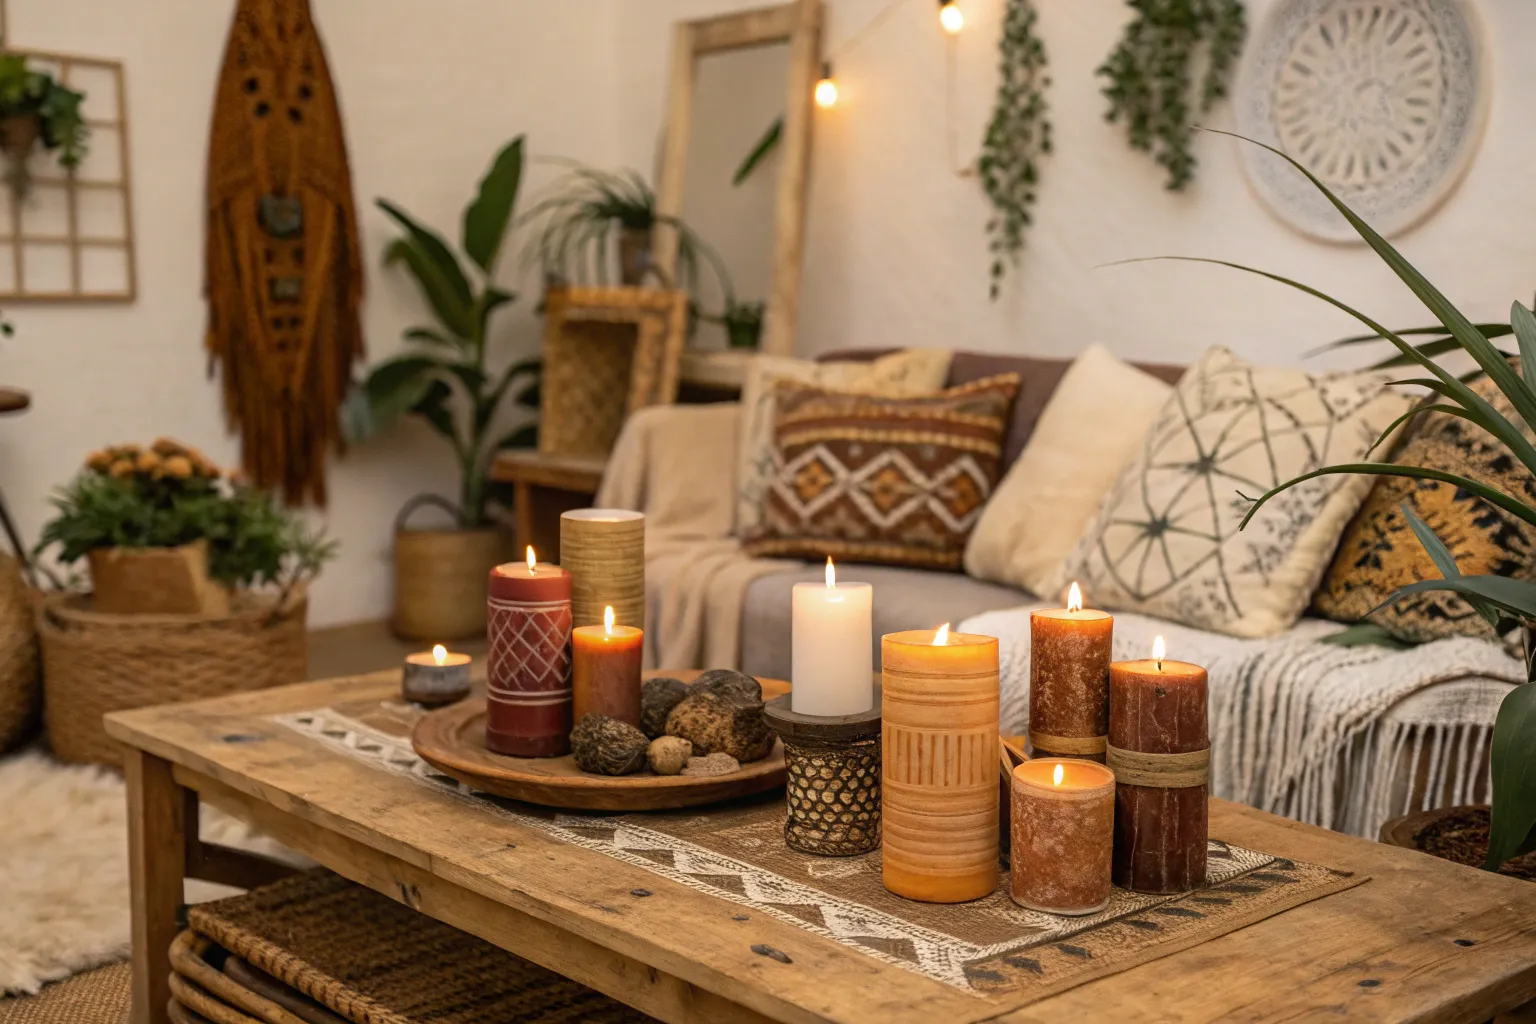
Decorated candles are an affordable way to introduce artistry and atmosphere into your home. With just a few coats of paint, an everyday candle can become a subtle neutral accent or the highlight of a seasonal centerpiece.
The Appeal of Painted Candles
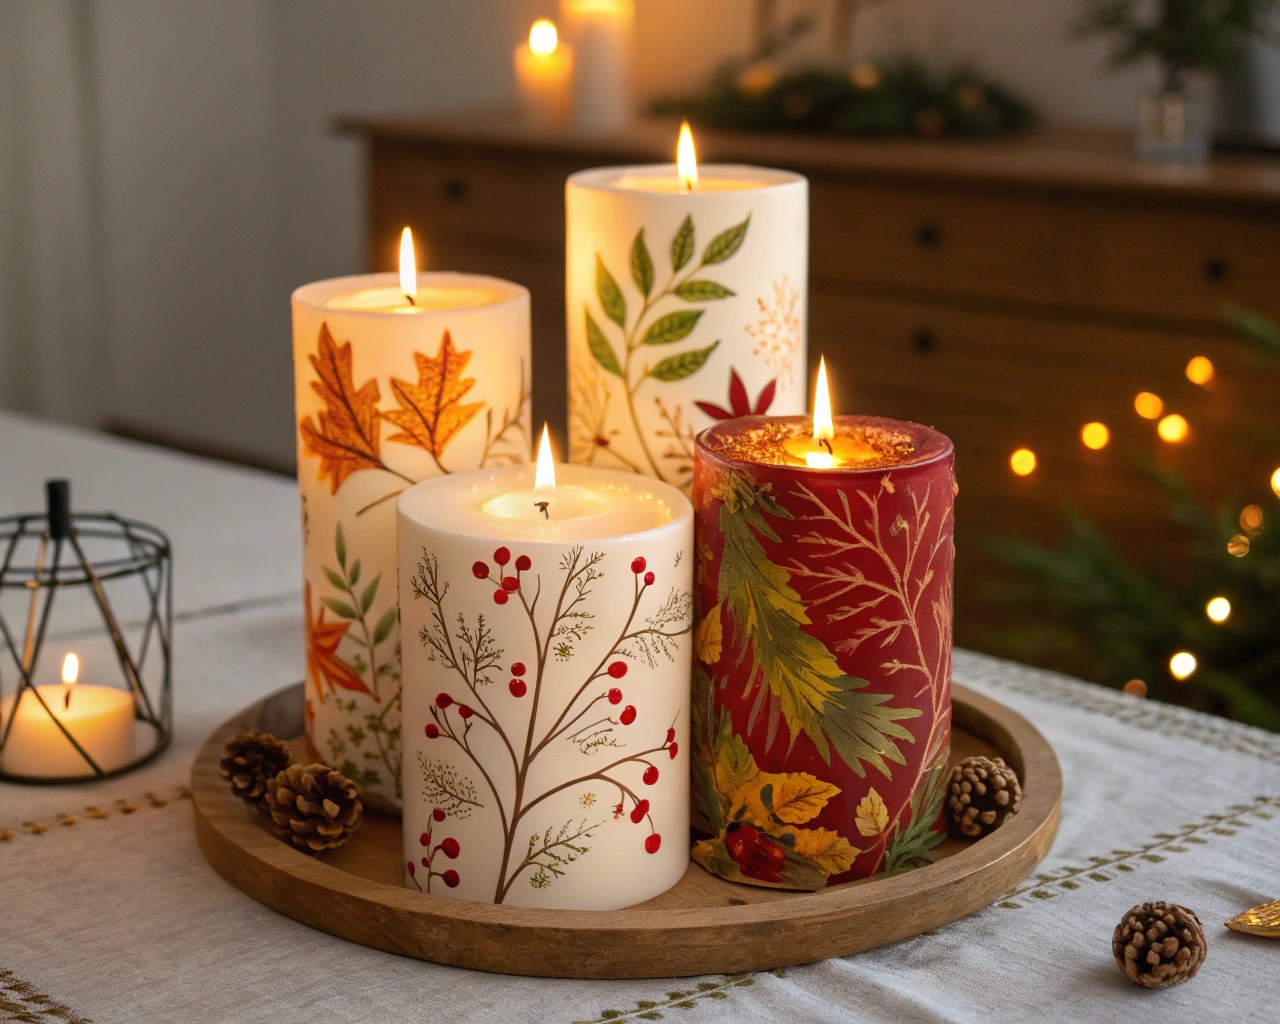
Painted candles merge function with decoration. A simple taper or pillar is essentially a blank canvas of wax. When decorated thoughtfully, it adds not only light but also texture, pattern, and seasonal personality to your space.
- Neutral Painted Candles create understated elegance—perfect for minimalist living rooms, serene bedrooms, or dining tables where you want the glow to complement rather than dominate.
- Seasonal Painted Candles mark changes in the year effortlessly, offering quick, inexpensive décor updates. A single candle painted with wintery branches or summer botanicals can make a table feel styled and intentional.
Painting candles also provides a creative outlet: the process is meditative, and the results are highly adaptable to your taste.
Materials and Workspace Setup
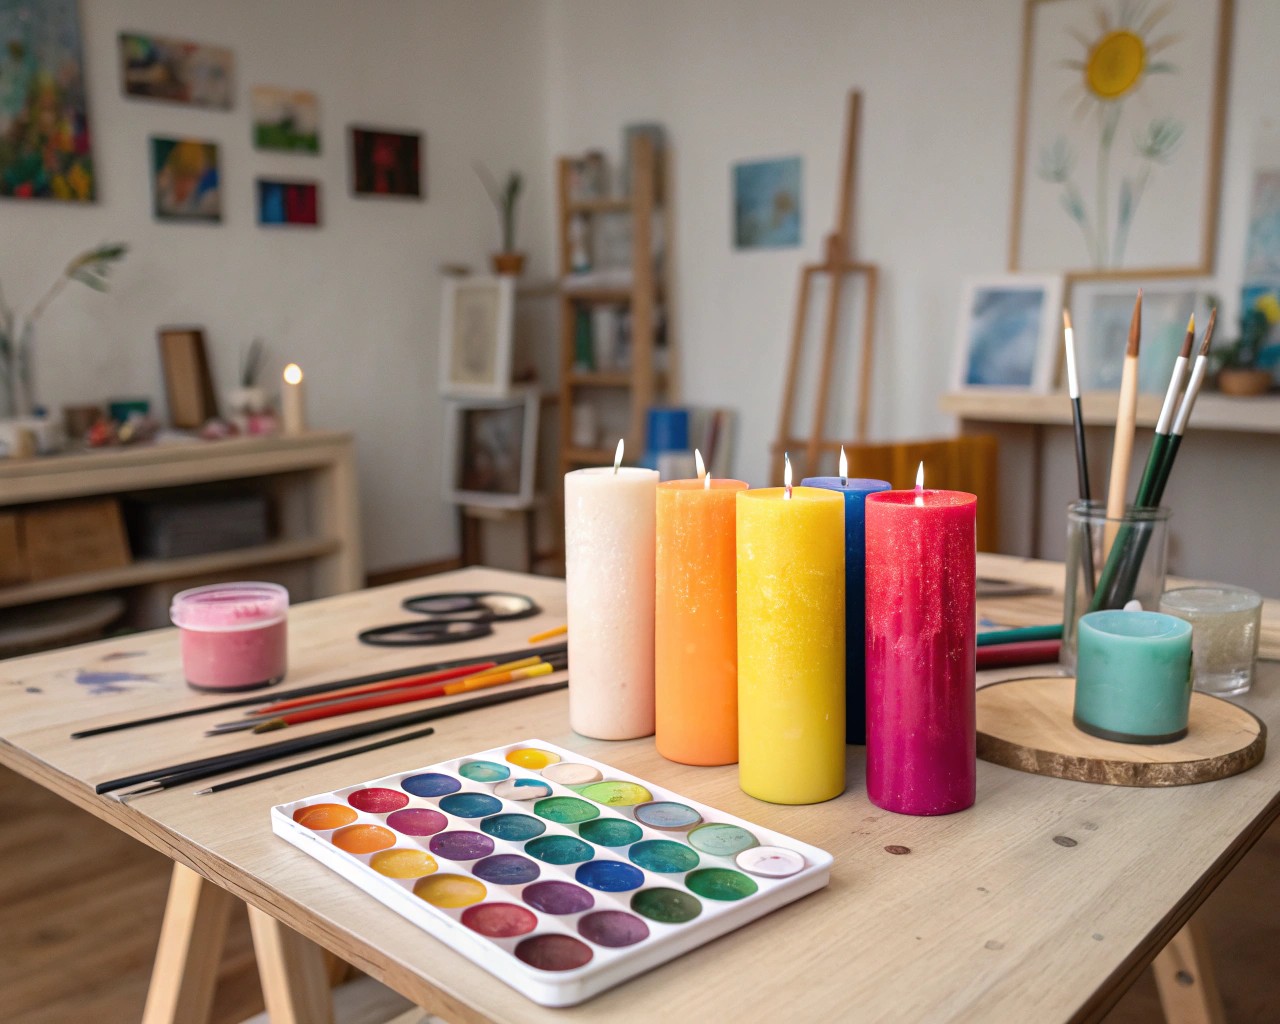
| Category | Recommended Items |
|---|---|
| Candles | Smooth surface tapers, pillar candles, or wider votives |
| Paints | Water-based, non-toxic acrylic or craft paint (dries quickly, good adhesion) |
| Brushes | Fine round-tip (0–2) for detail, flat shader brushes for broad areas |
| Extra Tools | Pencil for sketching outlines, painter’s tape for geometric designs, palette for mixing |
| Finishing | Optional clear wax-compatible sealant or a beeswax coating for protection |
| Workspace | Flat surface, paper or cloth covering, steady lighting |
Tip: Choose unscented or lightly scented candles. Strong scents can interfere with paint bonding.
Step-by-Step: Painting Candles
1. Prep the Candle
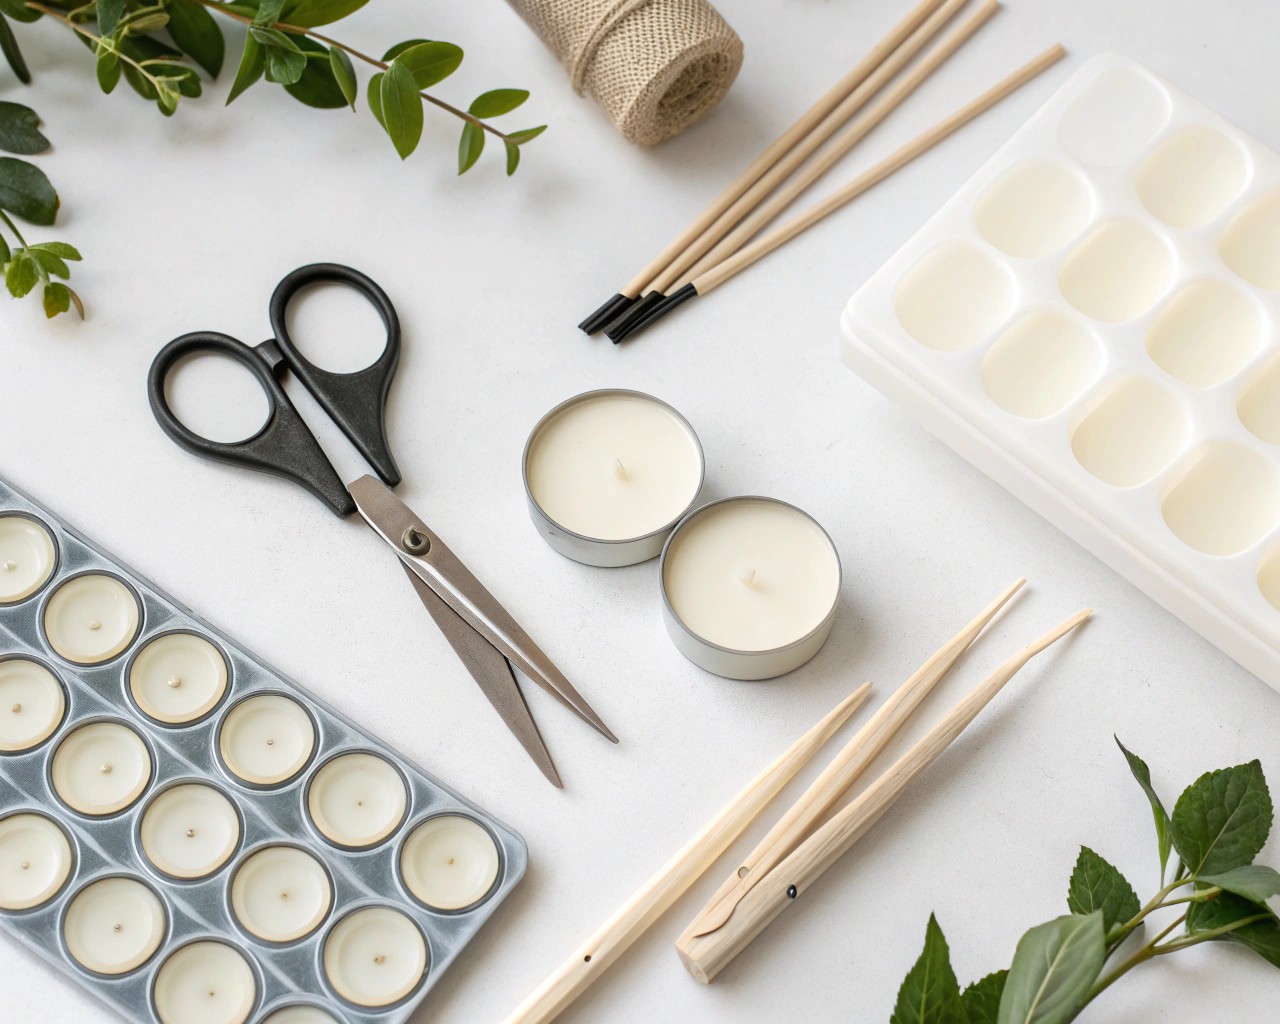
- Wipe down with a soft, lint-free cloth to remove fingerprints and wax residue.
- If glossy, gently abrade with very fine sandpaper (400–600 grit) so the paint adheres without streaking.
2. Plan the Design
- Use a pencil to lightly sketch the outline of motifs (leaves, stripes, florals). The wax surface accepts light pressure well.
- For abstract styles, test brush strokes on paper first to check how much pigment you want.
3. Apply the Base Layer
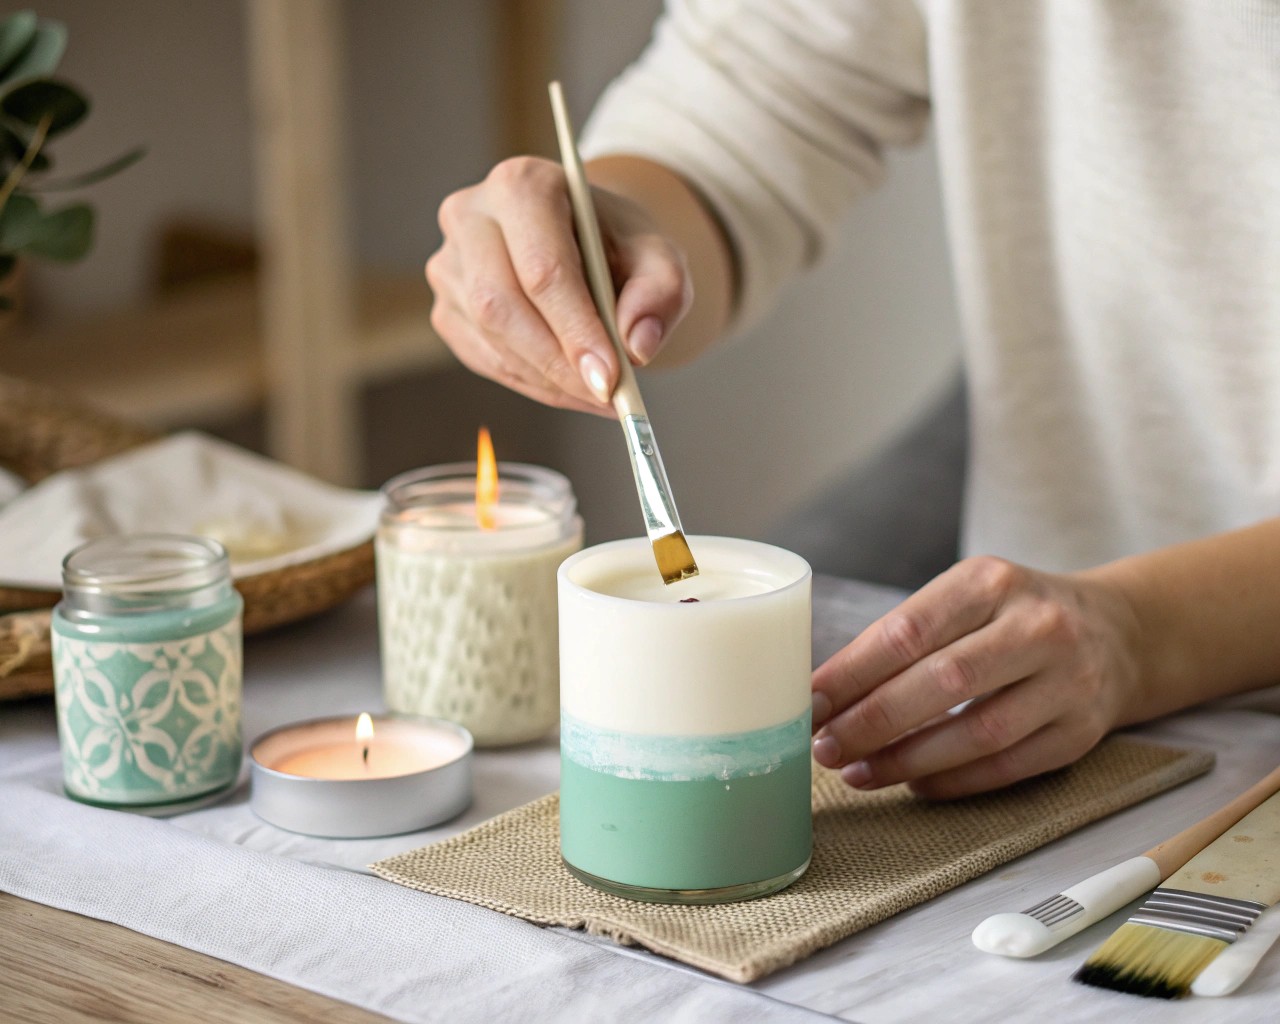
- A neutral wash (white, taupe, ivory) creates a cohesive background.
- Apply in thin, consistent layers, letting each coat dry fully before adding more.
4. Paint Accent Details
- Use fine brushes for detail.
- Geometric designs: apply painter’s tape for crisp edges.
- Seasonal designs: add layered touches (example: paint small autumn leaves in ochre, then overstroke with dark brown veins).
- For neutral designs: try tone-on-tone gradients, gentle crosshatching, or minimalistic line art.
5. Dry & Seal
- Allow decorated candles to dry for at least 24 hours before handling.
- To protect, use a wax-compatible clear sealer or gently buff with a soft cloth to smooth edges.
Design Inspiration & Motif Ideas
| Theme | Motif Examples | Color Palette |
|---|---|---|
| Calm & Neutral | Wavy vertical lines, abstract dots, tone-on-tone florals | Warm grays, ivory, linen, muted clay |
| Autumn | Maple leaves, pumpkins, acorns, wheat patterns | Rust, gold, deep green |
| Winter | Snowflakes, evergreen sprigs, reindeer silhouettes | White, icy blue, metallic silver |
| Spring | Tulips, cherry blossoms, pastel stripes | Soft pink, sage green, butter yellow |
| Summer | Seashells, nautical lines, sunbursts | Sand beige, navy, coral |
From experience, keeping the design relatively simple has the strongest visual payoff. A single bold motif often looks more intentional than a crowded mix of patterns.
Styling Your Painted Candles
- Dining Table: Cluster three to five pillar candles of varying heights, painted in connected motifs (e.g., a leaf that continues across multiple candles).
- Shelf or Mantel: Combine painted candles with objects from nature—pinecones, seashells, dried flowers—depending on the season.
- Outdoor Display: Place finished pieces in lanterns or hurricane jars for summer evenings.
For those who wish to light their candles: paint the lower two-thirds only. Flame exposure discolors painted designs quickly, so keeping the focus at the base preserves both look and safety.
Advanced Techniques
- Stencil Work: Cut simple stencils from cardstock for repeating motifs. Hold firmly and stipple paint in thin layers.
- Dry Brush Texture: Use a nearly dry flat brush to apply wispy strokes for a rustic, weathered appearance.
- Wax Relief Method: Draw shapes on candle with a clear wax crayon. Apply paint over top—the wax resists paint and the design “appears” once dry.
- Layered Motifs: Paint a background wash in one color, then add line art or botanical shapes in another for dimensionality.
Safety Considerations
- Burning Decorated Candles: Never leave them unattended. When lighting, trim the wick to ¼ inch and ensure the painted area is far enough from the flame.
- For Display-Only Candles: Painted LED candles are an excellent alternative—safe, long-lasting, and allow full-coverage designs without risk.
- Storage: Keep finished candles out of direct sunlight and heat to prevent warping or fading of paint.
Key Takeaway
Painting candles offers a blend of functionality, artistry, and personalization. Neutrals bring calm sophistication; seasonal motifs celebrate the shifting year. With simple tools and mindful technique, even a plain candle becomes a design element worth displaying.

