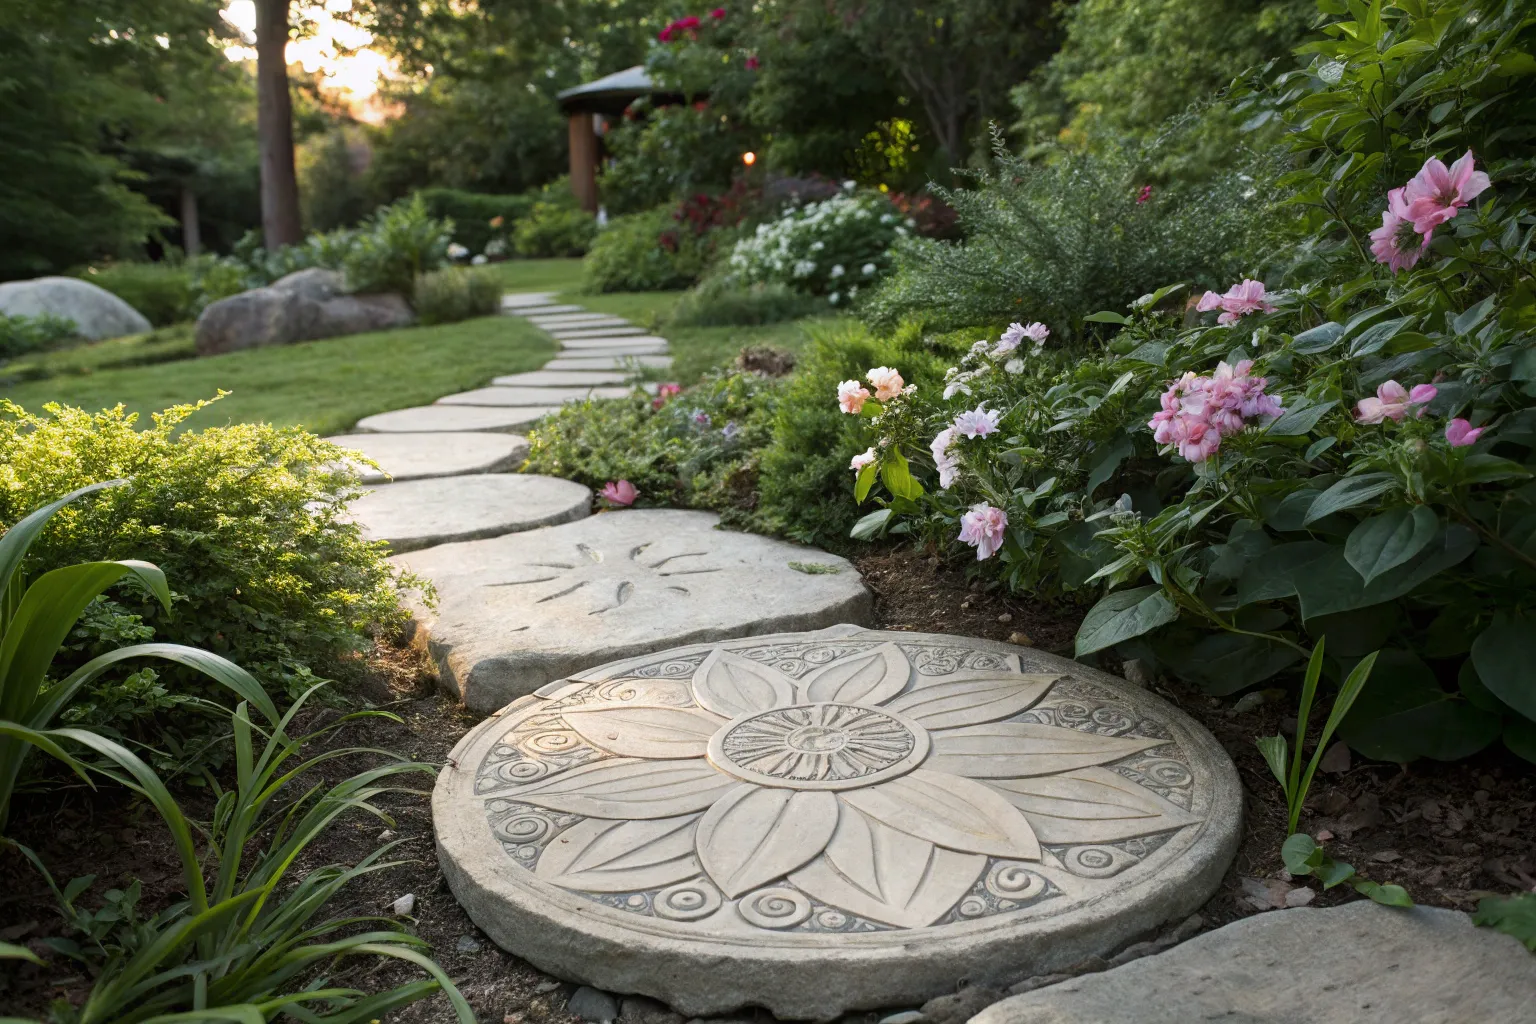
Creating stepping stones with cookie cutters and cement is a simple yet striking way to add personality to your garden or yard. With a little preparation and creativity, you can transform a functional pathway into a decorative focal point.
Why Cookie Cutters Work as Molds
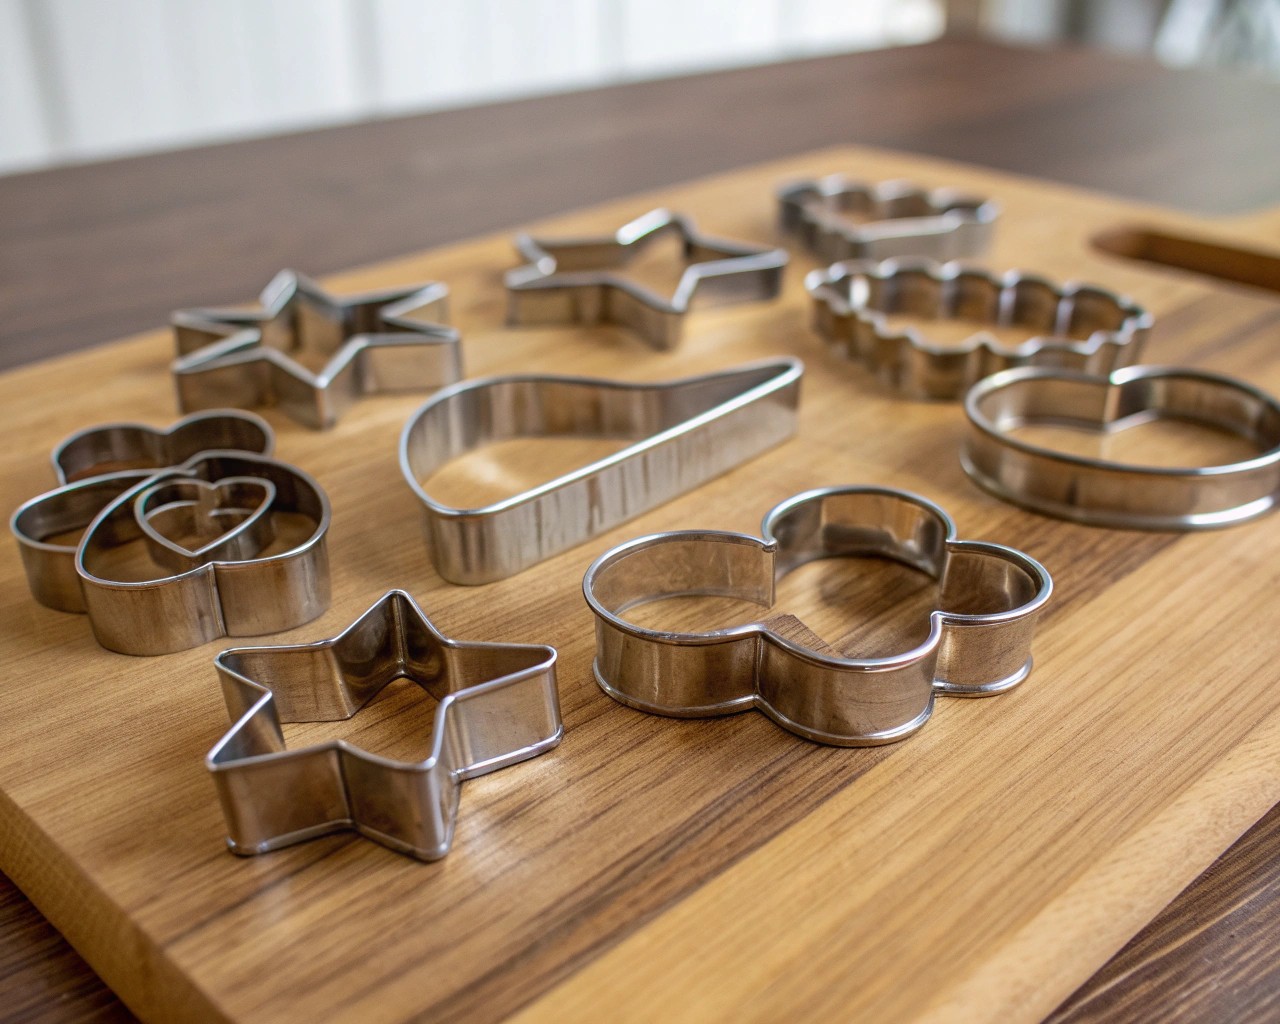
Cookie cutters are ready-made molds that offer precision and variety. Unlike bulky plastic kits or wooden frames, they provide compact shapes that can be repeated in patterns or combined into mosaics. This makes them practical for beginners, yet versatile enough for intricate designs.
Benefits:
- Affordability: Metal cutters cost far less than specialty stepping-stone molds.
- Creativity: A wide range of shapes—stars, hearts, leaves, circles—lets you experiment without committing to a single style.
- Scalability: Make just a handful for a flower bed border, or dozens to form a full walkway.
I’ve used cookie cutters to create accent stones before, and the process always surprises me—so simple, yet the finished stones look like they belong in a professional landscape design.
Gathering Materials
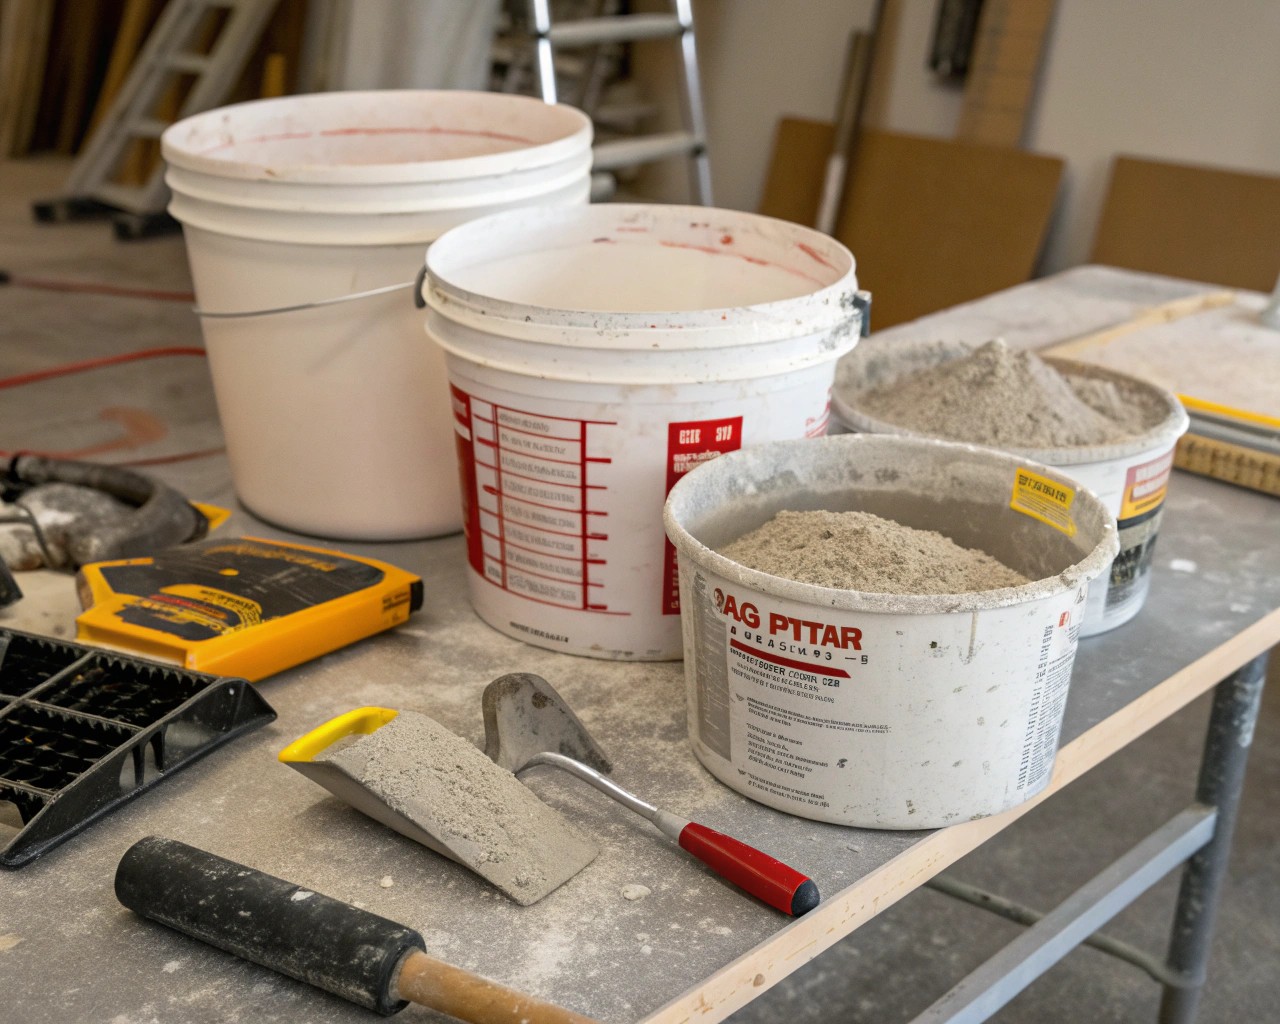
| Item | Why It Matters | Tips for Use |
|---|---|---|
| Fast-setting cement mix | Provides a strong, durable stepping stone | Choose weather-resistant mixes if you live in freeze-thaw climates |
| Large cookie cutters | Shapes each piece into a decorative form | Stainless steel offers the cleanest release |
| Mixing bucket & stirring tool | For accurate blending of cement and water | A trowel or sturdy stick prevents clumps |
| Release agent (oil, spray) | Makes demolding easier | Apply lightly; too much can discolor the cement |
| Safety gloves & mask | Protects skin and lungs during mixing | Cement is alkaline and can cause irritation |
| Surface decorations | Adds visual interest | Use small pebbles, mosaic tiles, colored glass, imprints |
| Sealant (optional) | Extends lifespan under weather exposure | Brush-on formulas work well for small pieces |
Step-by-Step Guide
Step 1: Setup and Workspace
Select a sturdy work area, preferably outdoors or in a ventilated garage. Cover it with a tarp or thick cardboard to catch drips. Place your cookie cutters on a flat board or tray—this makes moving them easier while curing.
Step 2: Prepare the Molds
- Spray inside surfaces with non-stick spray or brush lightly with cooking oil.
- For thin cookie cutters that don’t stand tall, consider attaching a strip of cardboard around the outer edge to increase depth. This keeps the cement thick enough to walk on.
Step 3: Mix the Cement
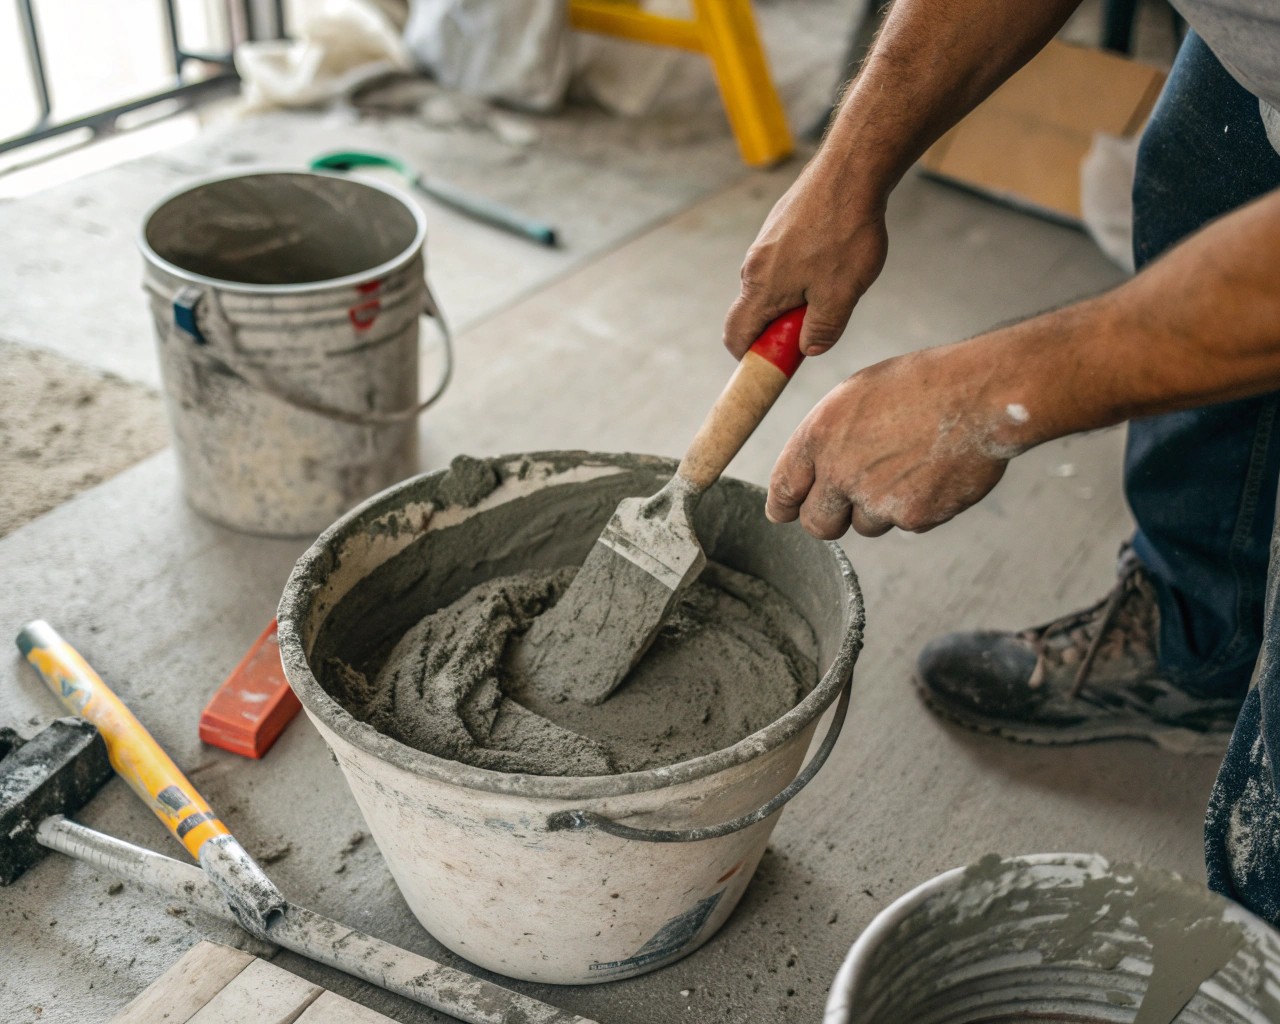
- Add dry cement mix to your bucket.
- Slowly incorporate water until the mixture reaches a thick yet pourable consistency. (Think of oatmeal—too runny, and the shape will crumble; too dry, and it won’t fill crevices.)
- Stir thoroughly to remove all dry pockets.
Step 4: Fill the Molds
- Pour the prepared cement directly into the cookie cutters.
- Use a spoon or trowel to spread the mix evenly and compact it.
- Gently tap the tray against your work surface—this helps air bubbles escape, giving a smoother finish.
Step 5: Add Embellishments (Optional)
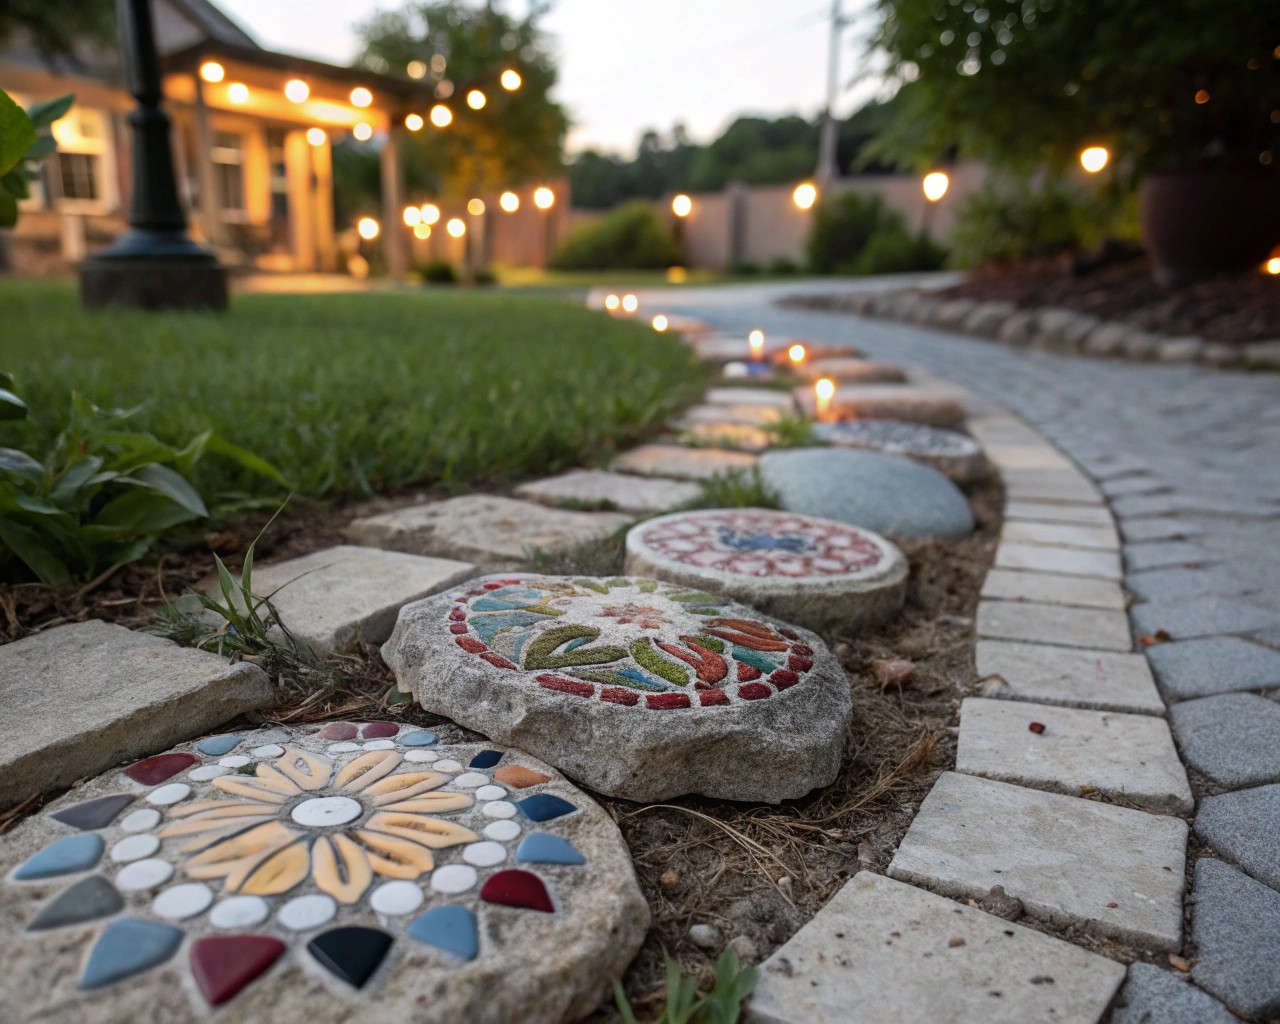
Before the cement sets:
- Press in colored stones, shells, or glass.
- Use a textured leaf or lace fabric pressed gently into the surface for a natural or patterned impression.
- Carve initials or small words with a pointed stick to personalize.
Step 6: Curing Stage
- Cover the molded stones lightly with plastic wrap to retain moisture.
- Leave untouched for at least 24 hours. For thicker pieces, curing may take 48–72 hours.
- Cement continues to strengthen over a week, so handle with care at first.
Step 7: Demolding
- Wiggle the cookie cutter gently until it loosens.
- If it sticks, tap around the outer edge with a spoon to release.
- Smooth edges with sandpaper if desired.
Design Layouts for Inspiration
Classic Pathway Design
Place stones in a straight or slightly curved line across the garden. Choose geometric shapes (circles, squares, hexagons) for a structured, modern look.
Mosaic Cluster
Combine star- and heart-shaped stones randomly for a playful cottage-garden path. This style works best with contrasting decoration—colored glass in one shape, smooth plain cement in another.
Border Enhancement
Use leaf-shaped stones along garden beds to create intentional edging that defines planting zones while controlling foot traffic.
Seasonal Swaps
You might create a permanent base pathway of simple shapes and add seasonal highlights—pumpkins in the fall, snowflakes in winter, flowers in spring. This makes the garden feel fresh throughout the year with minimal effort.
Technical Considerations for Durability
- Minimum thickness: At least 1 inch for small decorative stones, and closer to 2 inches for pieces meant to be walked on regularly.
- Curing environment: Cement requires moisture to form strong bonds through hydration. Covering loosely prevents rapid drying and cracks.
- Placement: Set stones into the ground slightly so their surface is level with surrounding soil. This prevents tripping hazards and keeps pieces secure.
- Sealing: Applying a weatherproof concrete sealer helps protect designs against frost, rain, and fading from sun.
Troubleshooting Common Issues
| Problem | Likely Cause | Solution |
|---|---|---|
| Stones crack during curing | Mix too dry or pieces too thin | Add more water when mixing; increase thickness |
| Mold sticks and won’t release | No release agent applied | Always coat first; warm cutters slightly to loosen |
| Pitted or rough surfaces | Air bubbles trapped in cement | Tap mold tray to settle mixture |
| Stones crumble when lifted | Incomplete curing | Allow extra time; handle gently in first week |
Final Thoughts
The joy of making stepping stones from cookie cutters lies in their flexibility—simple enough for beginners, but endlessly adaptable for seasoned DIYers. I’ve seen even small handfuls of shapes completely change the atmosphere of a path, turning something ordinary into something personal and inviting. Whether you prefer bold geometric repeats or playful garden motifs, these handmade stones give your landscape a signature touch that no store-bought option can match.

