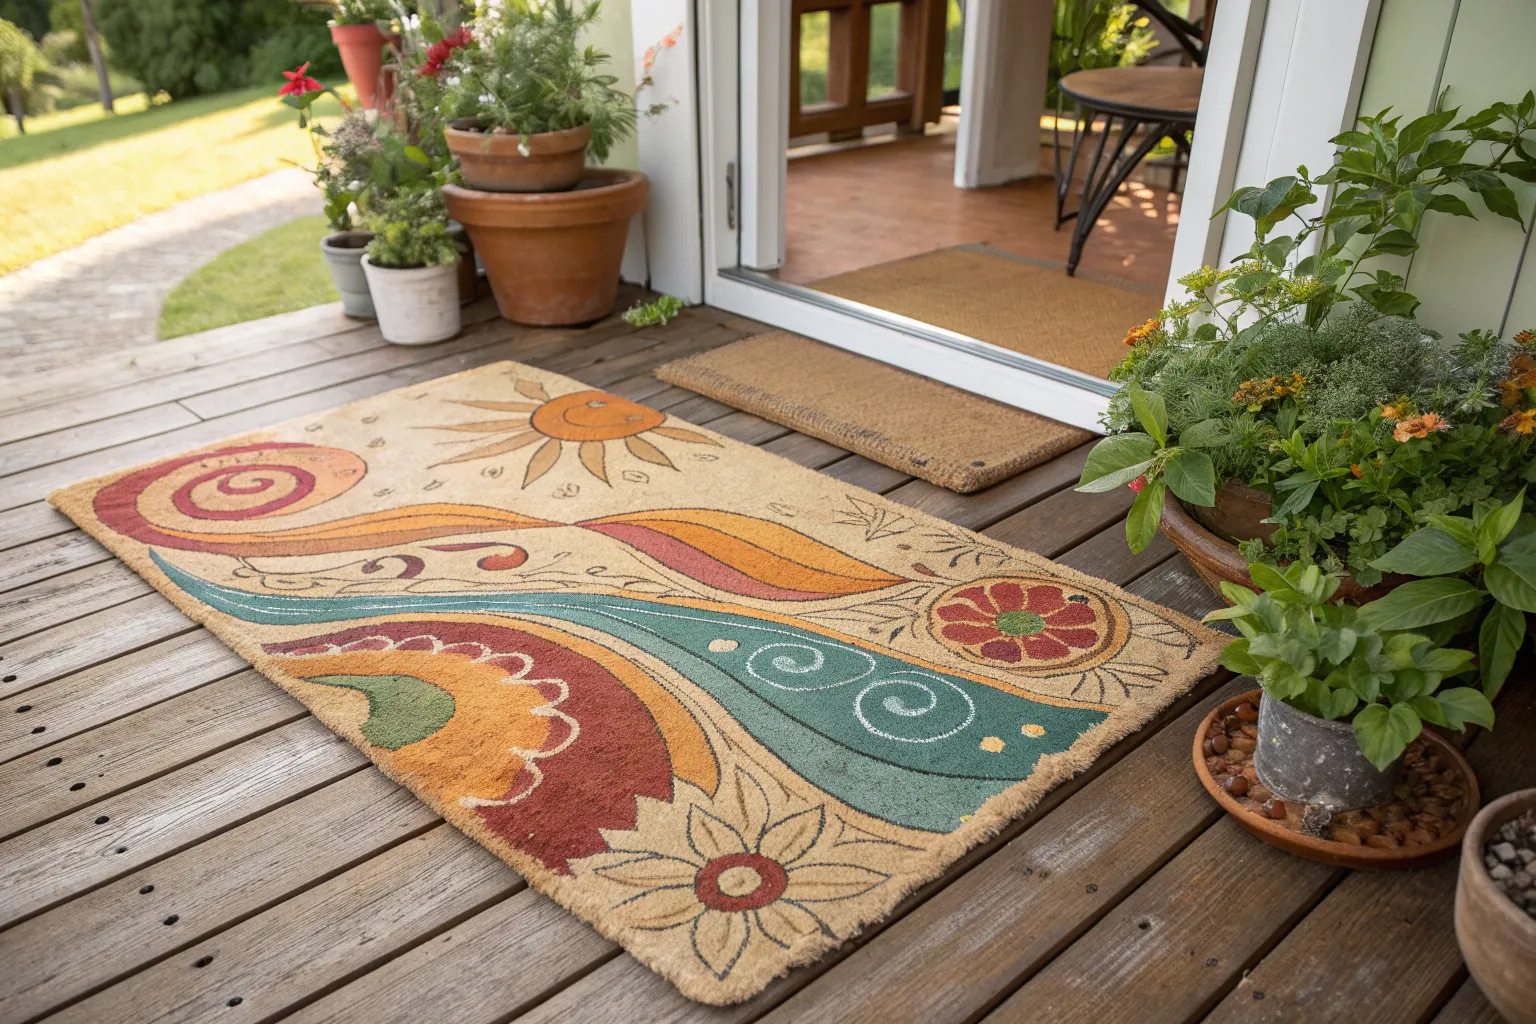
A personalized welcome mat does more than keep dirt at bay—it’s the very first glimpse a guest gets of your home. Painting your own transforms a functional item into a creative statement, combining utility with personality.
Why DIY Mats Stand Out
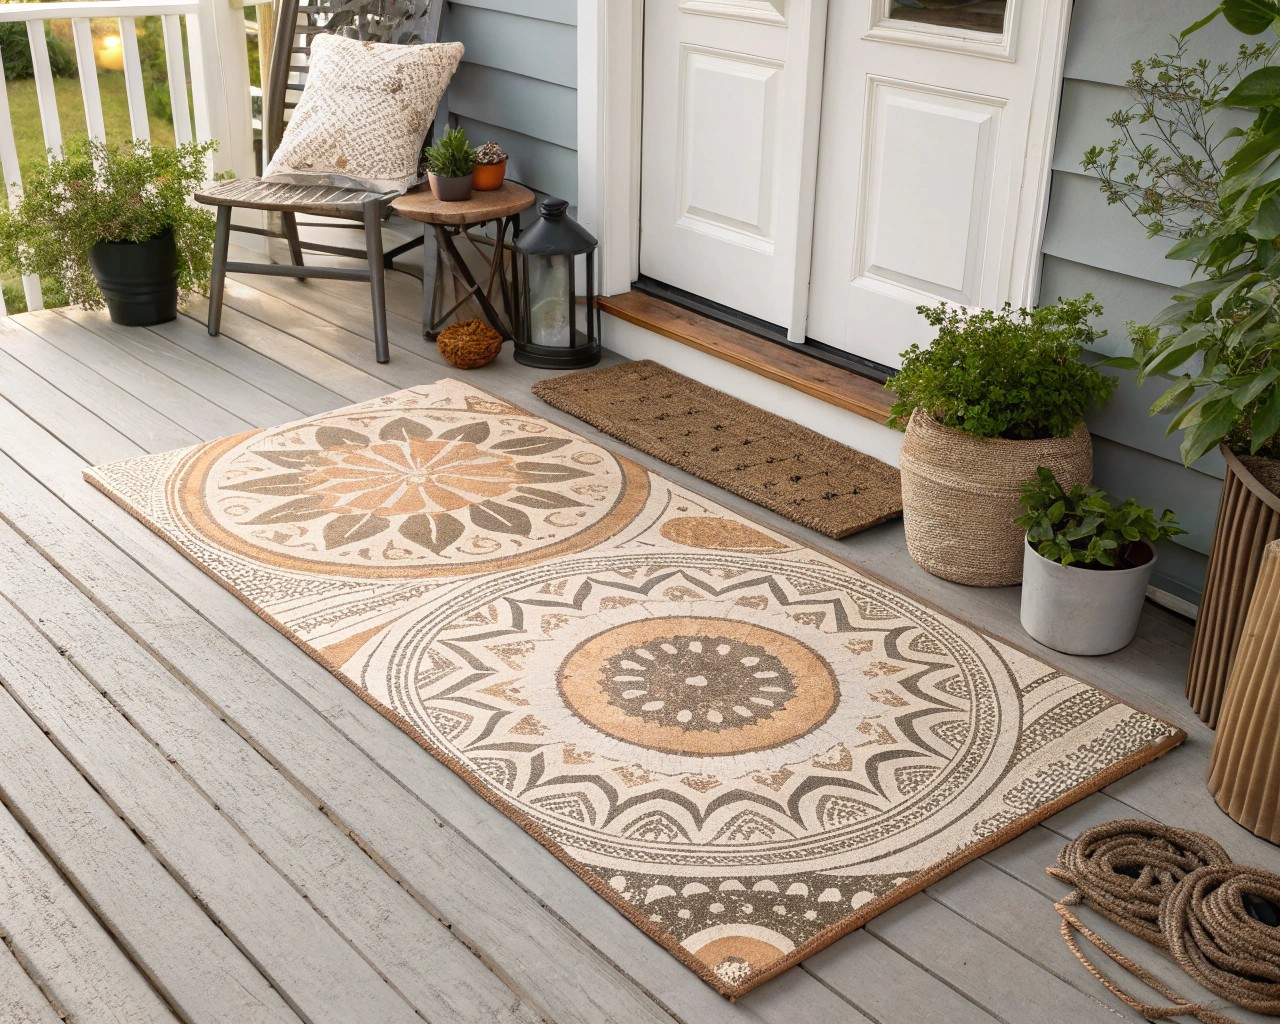
Store-bought mats often feel generic. A hand-painted mat gives you control over scale, style, and color. It can complement your front door color, tie in with seasonal décor, or subtly showcase your interests. From a professional standpoint, the satisfaction also lies in knowing the mat is one-of-a-kind and made to suit your exact space.
Coir vs. Canvas: Which Is Best for You?
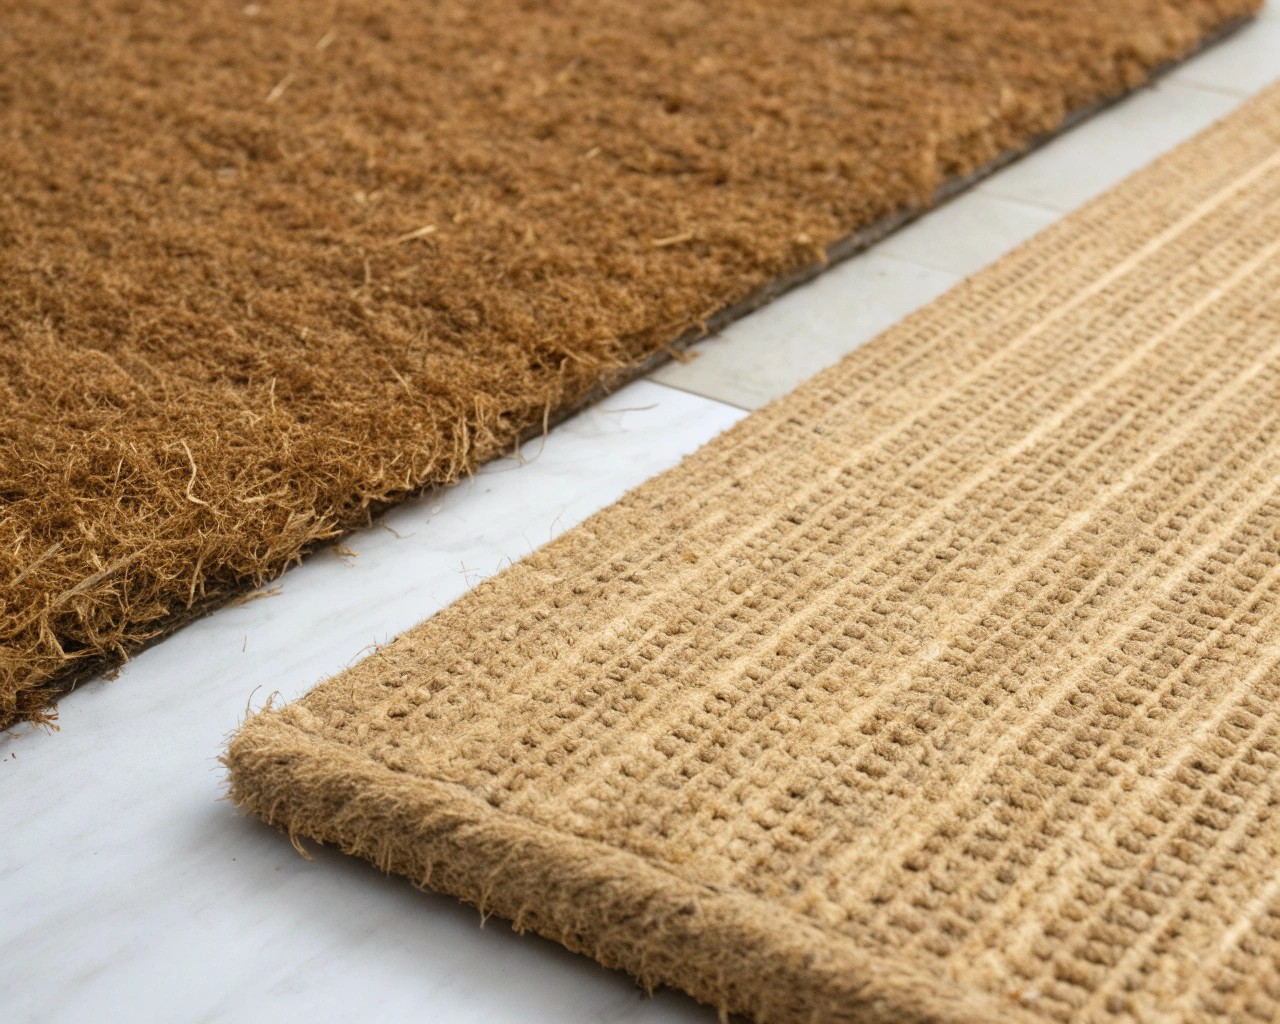
Understanding your base material is key. Each has practical advantages:
| Material | Look & Feel | Durability | Painting Difficulty | Best for: |
|---|---|---|---|---|
| Coir (coconut husk fiber) | Rustic, textured, golden-brown | Scrapes off dirt very well, highly weather-resistant | Moderate—uneven fibers require stenciling and stippling techniques | Outdoor entryways exposed to weather and heavy foot traffic |
| Canvas (heavy-duty cotton or outdoor fabric) | Smooth, flat surface | Requires waterproofing; resists mold if sealed properly | Easy—ideal for clean lines and freehand work | Covered porches, mudrooms, patios with light exposure |
My take: If I need a truly weatherproof mat, I always reach for coir. But when I want precision, crisp lettering, or more elaborate designs, canvas is far more forgiving.
Tools and Materials You’ll Need
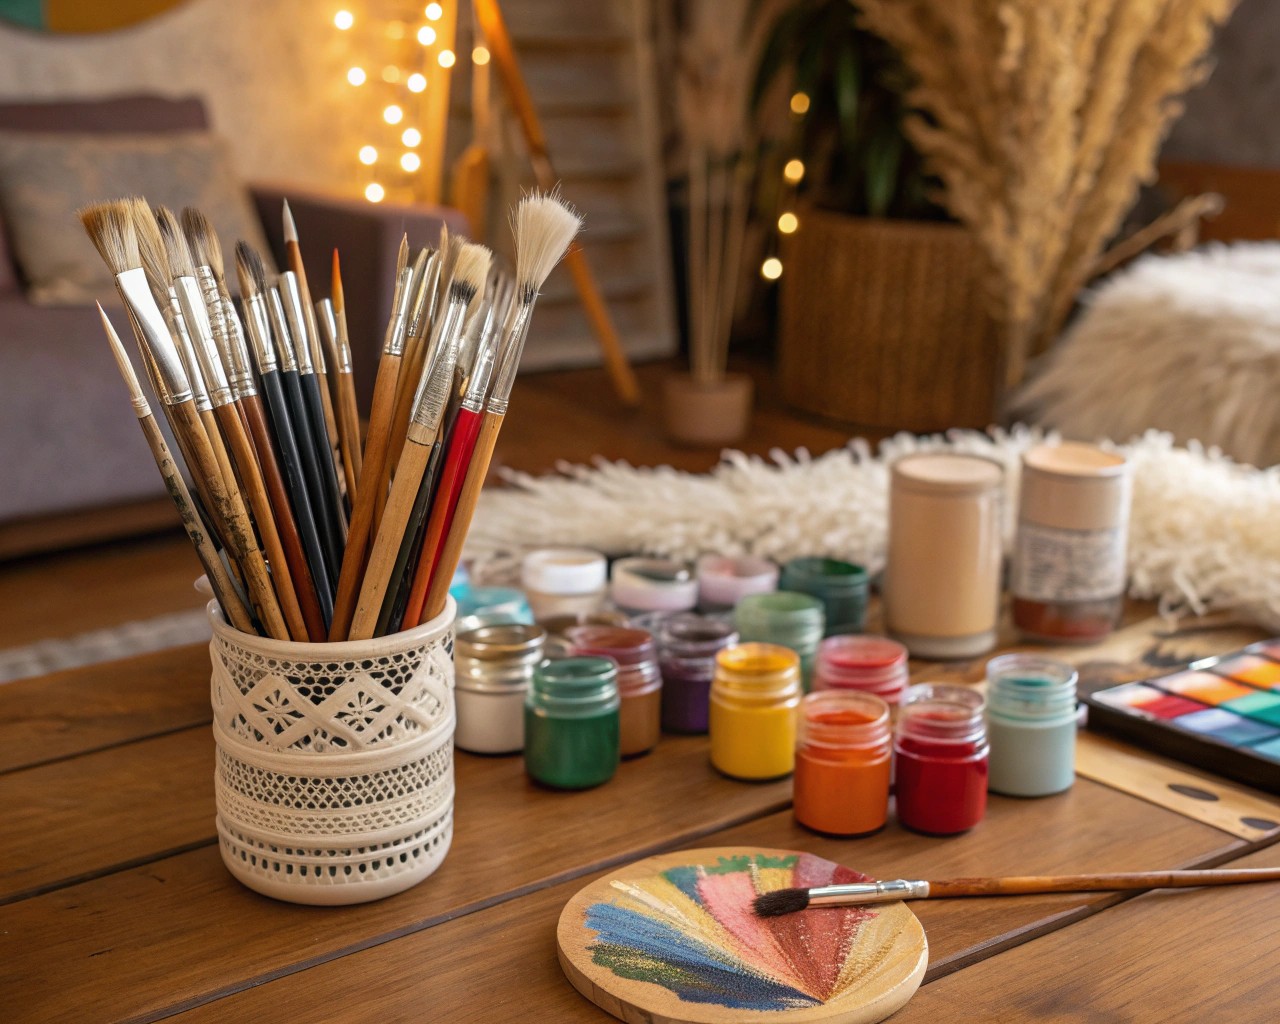
Keep your work process smooth by setting up all materials in advance:
- Blank mat base: coir rectangle or primed canvas cut to size
- Acrylic-based outdoor paint (or fabric paint for canvas)
- Paint applicators: stiff stencil brush or sponge for coir, flat brushes or rollers for canvas
- Painter’s tape and craft knife
- Stencil sheets, tracing paper, or hand-drawn templates
- Sealant: outdoor polyurethane (for coir) or waterproof fabric sealer (for canvas)
- Drop cloth or protective plastic surface
- Chalk, light pencil, or washable marker for guide lines
- Old hairdryer or fan for faster dry times
Step-by-Step Project Guide
1. Prep the Surface
- Coir: Shake fibers loose, brush briskly, then vacuum. This creates a stable base for paint adhesion.
- Canvas: Pre-wash, dry, and iron. This shrinks the fabric to final size and removes chemicals from manufacturing. Stretch on a board or secure with clips to remove slack.
2. Design and Layout
- Plan your composition using graph paper or print-outs.
- Use measurements to center the design: leave at least 2 inches of border around text or graphics for framing.
- Mark invisible guidelines with chalk across the mat for alignment.
👉 Professional tip: I often suggest sketching two alternative layouts, one busy and one minimal. Nearly every time, people end up choosing the cleaner design—because it’s easier to read from standing height.
3. Base Color or Border
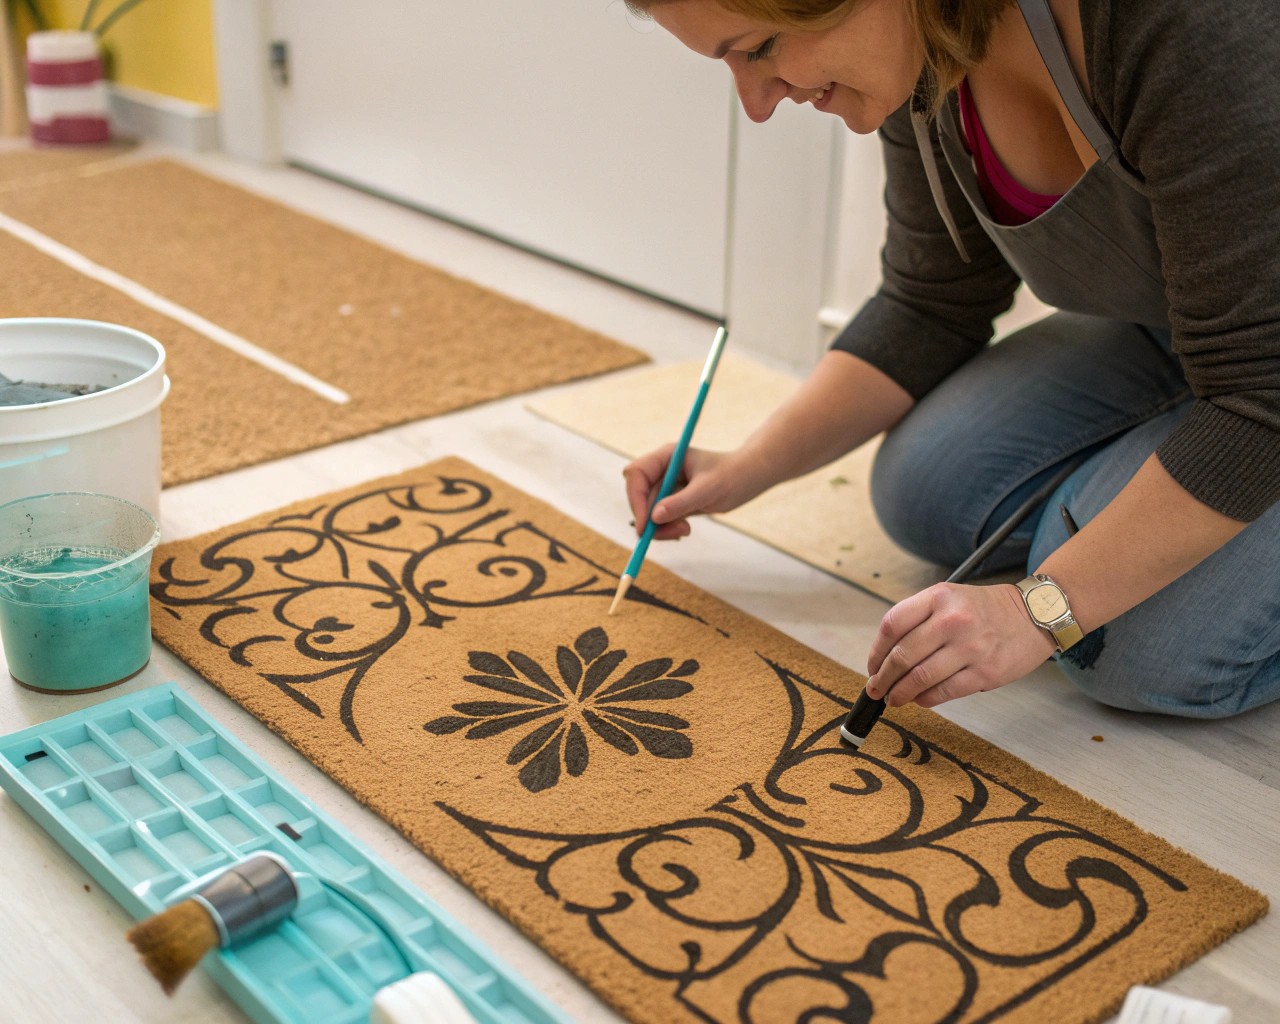
- Tape off borders with painter’s tape for crisp edges.
- For coir: work in a stippling motion to push color deep into fibers. One thick coat often performs better than multiple thin passes.
- For canvas: roll or sponge a base wash of color before adding details.
4. Lettering and Motifs
- Stencil method (recommended for coir): Place stencil, secure edges, dip brush into paint, remove excess, and dab vertically. Rotate stencil carefully if repeating pattern.
- Freehand (works beautifully on canvas): Lightly outline letters using chalk/pencil, then fill with steady, even brushstrokes.
Design suggestions:
- Greeting text: Welcome, Hey There, or house number.
- Seasonal accents: pumpkins, holly sprigs, or suns.
- Geometric repeats: triangles, stripes, or concentric circles.
- Playful imagery: paw prints for pet-friendly homes, waves for a coastal house.
5. Drying and Sealing
- Ensure full drying between layers (at least 2–3 hours in dry climate; longer if humid).
- Apply outdoor sealant in misting layers, not heavy sprays, to avoid drips.
- Two coats are minimum; three create true weather resistance.
Advanced Techniques for More Personality
- Ombre effects: Blend two colors from light to dark across the mat using a sponge.
- Layered stencils: Create dimension by starting with a background pattern (geometric grid) and layering a bolder graphic on top.
- Raised texture: Mix sand into your paint for tactile lettering that resists wear.
- Dual-sided canvas mats: Flip between seasonal sides—spring/summer on one, fall/winter on the other.
Maintenance and Longevity
- Coir: Shake outdoors to remove soil; don’t hose down—it leads to fiber breakdown.
- Canvas: Spot-clean with mild soap, then allow full cure before resealing.
- Reseal seasonally or at least twice per year to extend vibrancy.
If fading occurs, touch up the original color scheme before the design loses clarity; this prevents repainting the entire mat.
Inspiration Board for Color Palettes
| Theme | Suggested Colors |
|---|---|
| Coastal | Navy, sand beige, crisp white |
| Rustic Farmhouse | Deep charcoal, soft cream, warm ochre |
| Playful Modern | Bright teal, coral, sunny yellow |
| Classic Monochrome | Black, gray, white |
| Seasonal Rotation | Orange + brown (fall), green + gold (holidays), pastel tones (spring) |
Final Thoughts
Painting your own welcome mat creates more than decoration—it builds ritual. From the tactile experience of dabbing paint into coir fibers to the satisfaction of unveiling a crisp letterform on canvas, the process balances creative freedom with simple craftsmanship. Guests notice these details, and the mat becomes more than a surface to step on—it becomes the first hello your home offers.

